Configure Custom Integrations
You can create a custom integration between Umbrella and other parts of your security stack (e.g. SIEM, threat intelligence platform (TIP), or homegrown systems) using the Cisco Umbrella API to instantly operationalize your threat intelligence into visibility and enforcement. To do this you need to add a custom integration setting, and then use the Custom Integration URL created here in your scripts. Once set up, you can include this custom integration in your Security Settings.
In essence, you are able to create a destination list in Umbrella from an external source that you manage directly through the API and integrate this into your Security Settings. For more information, see our custom integration documentation.
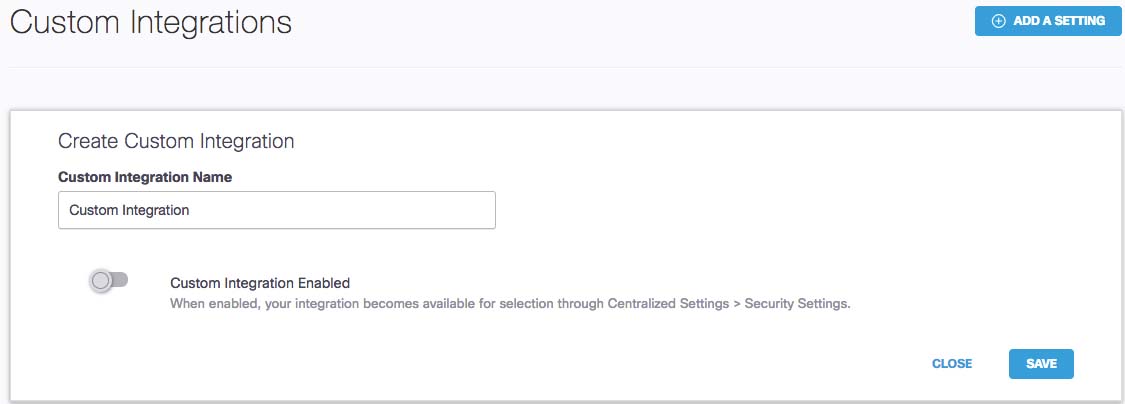
- Navigate to Centralized Settings > Custom Integrations.

- Click Add a Setting.

- Give your integration a meaningful name, enable it, and click Save.
Your integration is added to the Integrations page.

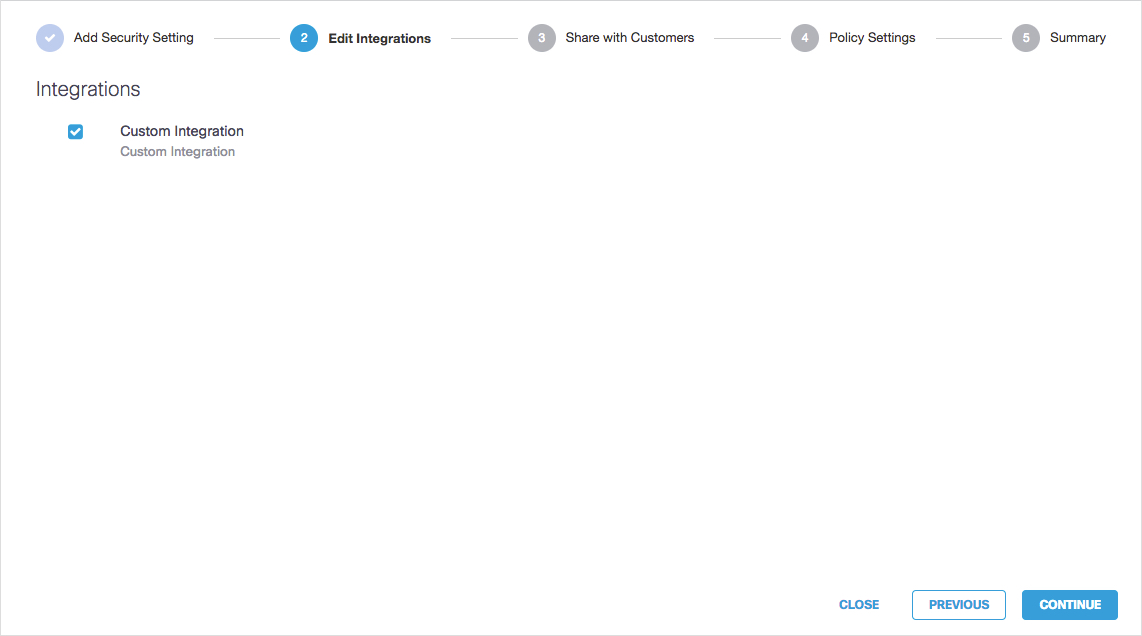
Note: By default, your new entry is disabled. Once enabled, your integration is available at Centralized Settings > Security Settings.

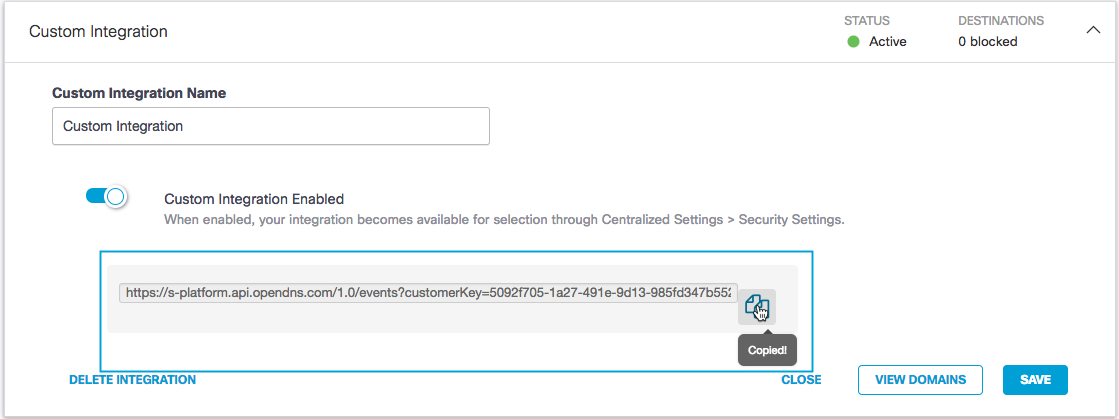
- When you add a custom integration, a unique Custom Integration URL is created that is linked to the ISPs' unique API key. You use this URL when creating an integration for a custom threat intelligence feed using the Cisco Umbrella API. For more information, see our custom integration documentation.
To copy a custom URL, expand your integration and click the copy icon.

- See the generate_event and delete_domain sample scripts in the appendix of this document or use API documentation to create your own scripts to generate the correctly formatted requests for either generating events, or deleting or listing domains. You’ll want to use the custom integration URL in these scripts going forward.
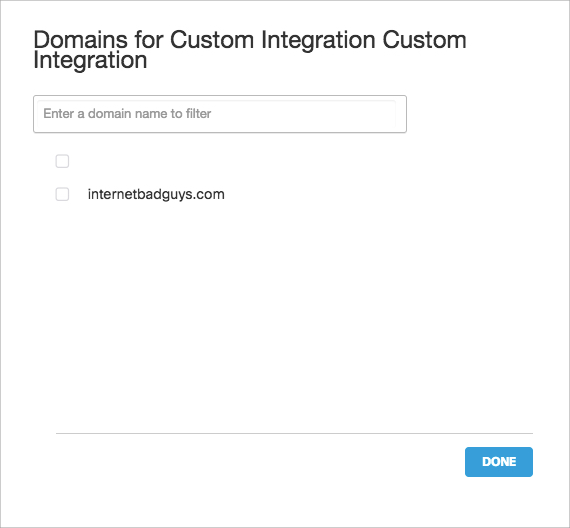
- Click View Domains to view a searchable list of the domains that have been added.

Configure Security Settings < Configure Custom Integrations > Configure Advanced Settings
Updated almost 6 years ago
