Manage Easy Protect
1. Manually Add a Network Identity
An identity is simply an entity (in this case a customer Network) that you can enforce policy against. This identity is defined by the public IP space of the network itself. All traffic originating from that IP space is identified as coming from that network in Easy Protect. Thus, to add a network to Umbrella you add the public IP space, or IP range, to define the scope of identity.
Note: Only Network identities can be added to Easy Protect.
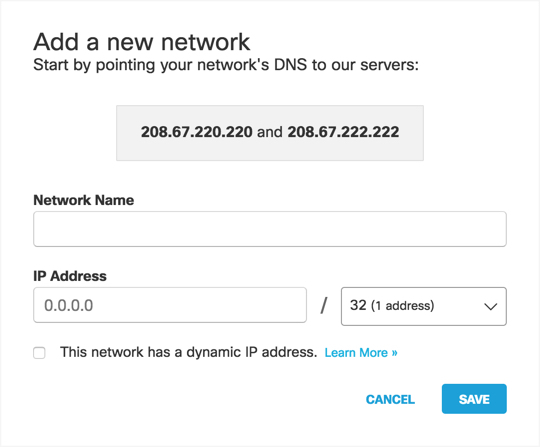
- Navigate to Deployments > Core Identities > Networks and click Add.

- Give your new identity a good descriptive name and add its IP address along with the subnet mask, usually a /32 subnet—a single IP address.

- Click Save.
2. Point Your Customer's DNS To Cisco Umbrella
Configuring your customer's DNS directs traffic from their network to the Cisco Umbrella global network. You maybe be able to update your customer's DNS settings for them; but if not, direct your customer to manually update their DNS settings to point to the Cisco Umbrella global network.
To switch to Easy Protect, you need to explicitly change the DNS settings of your customer's operating system or hardware firewall/router to use IP addresses of the Umbrella name servers and turn off the automatic DNS servers provided by you to your customer.
The Umbrella IP addresses (IPv4) are:
- 208.67.222.222
- 208.67.220.220
- In a browser, enter the IP address to access the router's user interface and enter the router's password.
- Find the area of configuration in which DNS server settings are specified and replace those addresses with Umbrella's IP addresses:
- 208.67.222.222
- 208.67.220.220
- Save your changes and exit the router's user interface.
- Flush your DNS cache.
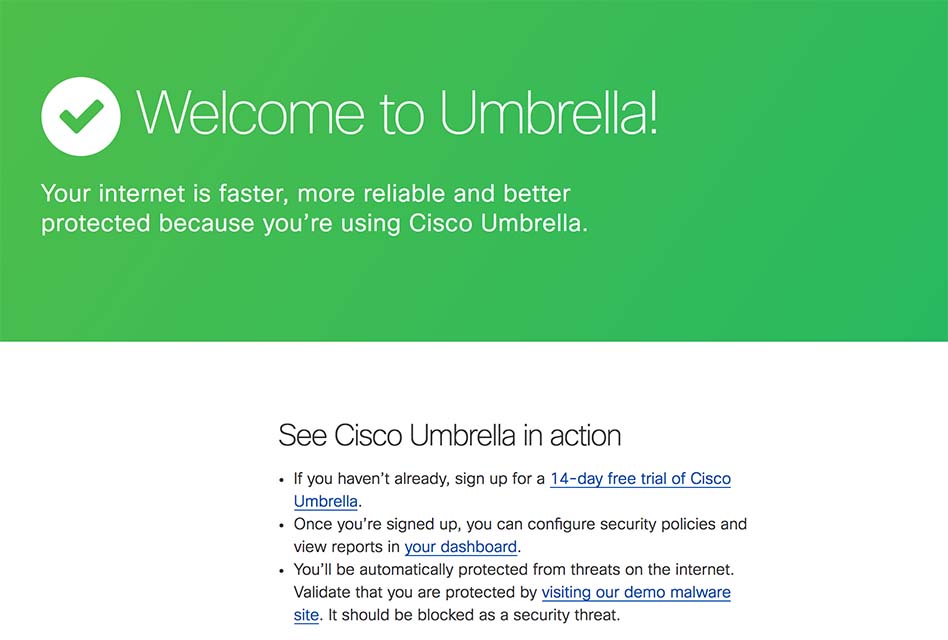
- Test that the setup is working correctly. Browse to http://welcome.umbrella.com. If you've successfully pointed to the Cisco Umbrella servers, you'll see the Umbrella Welcome page.

Introduction < Manage Easy Protect > Manage Licenses
Updated over 5 years ago
