Add a DNS Destination List
Destination lists are used to control identity access to websites. You add destinations to a destination list and then add that destination list to a policy. A DNS policy only supports DNS destination lists. A DNS destination list can include the following destination types:
- Domain—block and allow lists
- URL—block list only
- IPv4—allow list only
- CIDR—allow list only
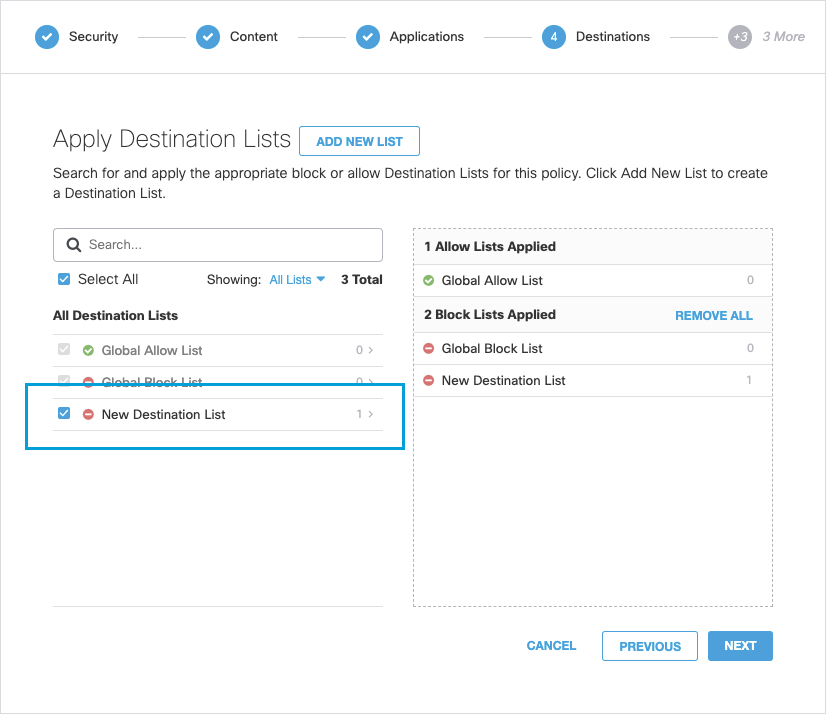
You can add a DNS destination list to Umbrella at any time. If you add a DNS destination list through the DNS policy wizard, that DNS destination list immediately becomes part of that DNS policy and immediately takes effect. If you add a DNS destination list through Umbrella's policy components, you must add it to a DNS policy before it comes into effect.
Note: Your destination list must be compatible with the policy type: Web or DNS. A DNS destination list is used only with DNS policies.
When adding new destination lists to Umbrella, there are a few things that you should take into consideration. Allow destination lists always take precedence over block destination lists. Allow destination lists also take precedence over security-related blocks. Thus, if a domain is being blocked incorrectly, adding it to a destination allow list allows access. For example:
- Blocking domain.com and adding mail.domain.com to an allow destination list will still allow mail.domain.com.
- Adding domain.com to an allow destination list and blocking sub.domain.com will still allow sub.domain.com.
- Adding domain.com to a block destination list, and mail.domain.com to an allow destination list, assuming both lists are applied to the same policy, results in Umbrella allowing access to mail.domain.com.
Always add domains in the format "domain.com" rather than www.domain.com to ensure *.domain.com is included (a wildcard is implicit). However, if you only wish to block subdomain.domain.com, then be more specific when you define the entry here.
Note: Destination lists accept domain names encoded in Punycode. For more information, see Add Punycode Domain Name to Destination List.
Prerequisites
- Full admin access to the Umbrella dashboard. See Manage User Roles.
Procedure
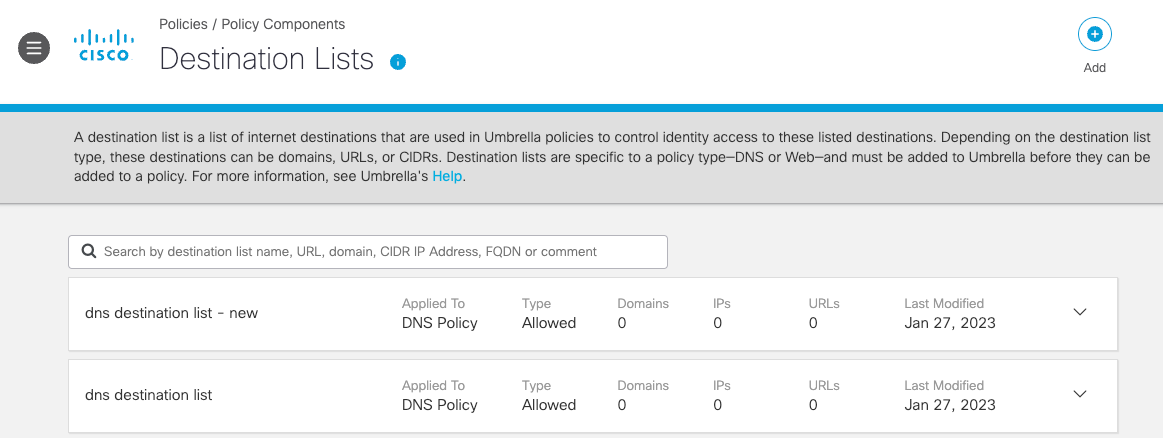
- Navigate to Policies > Policy Components > Destination Lists and click Add.

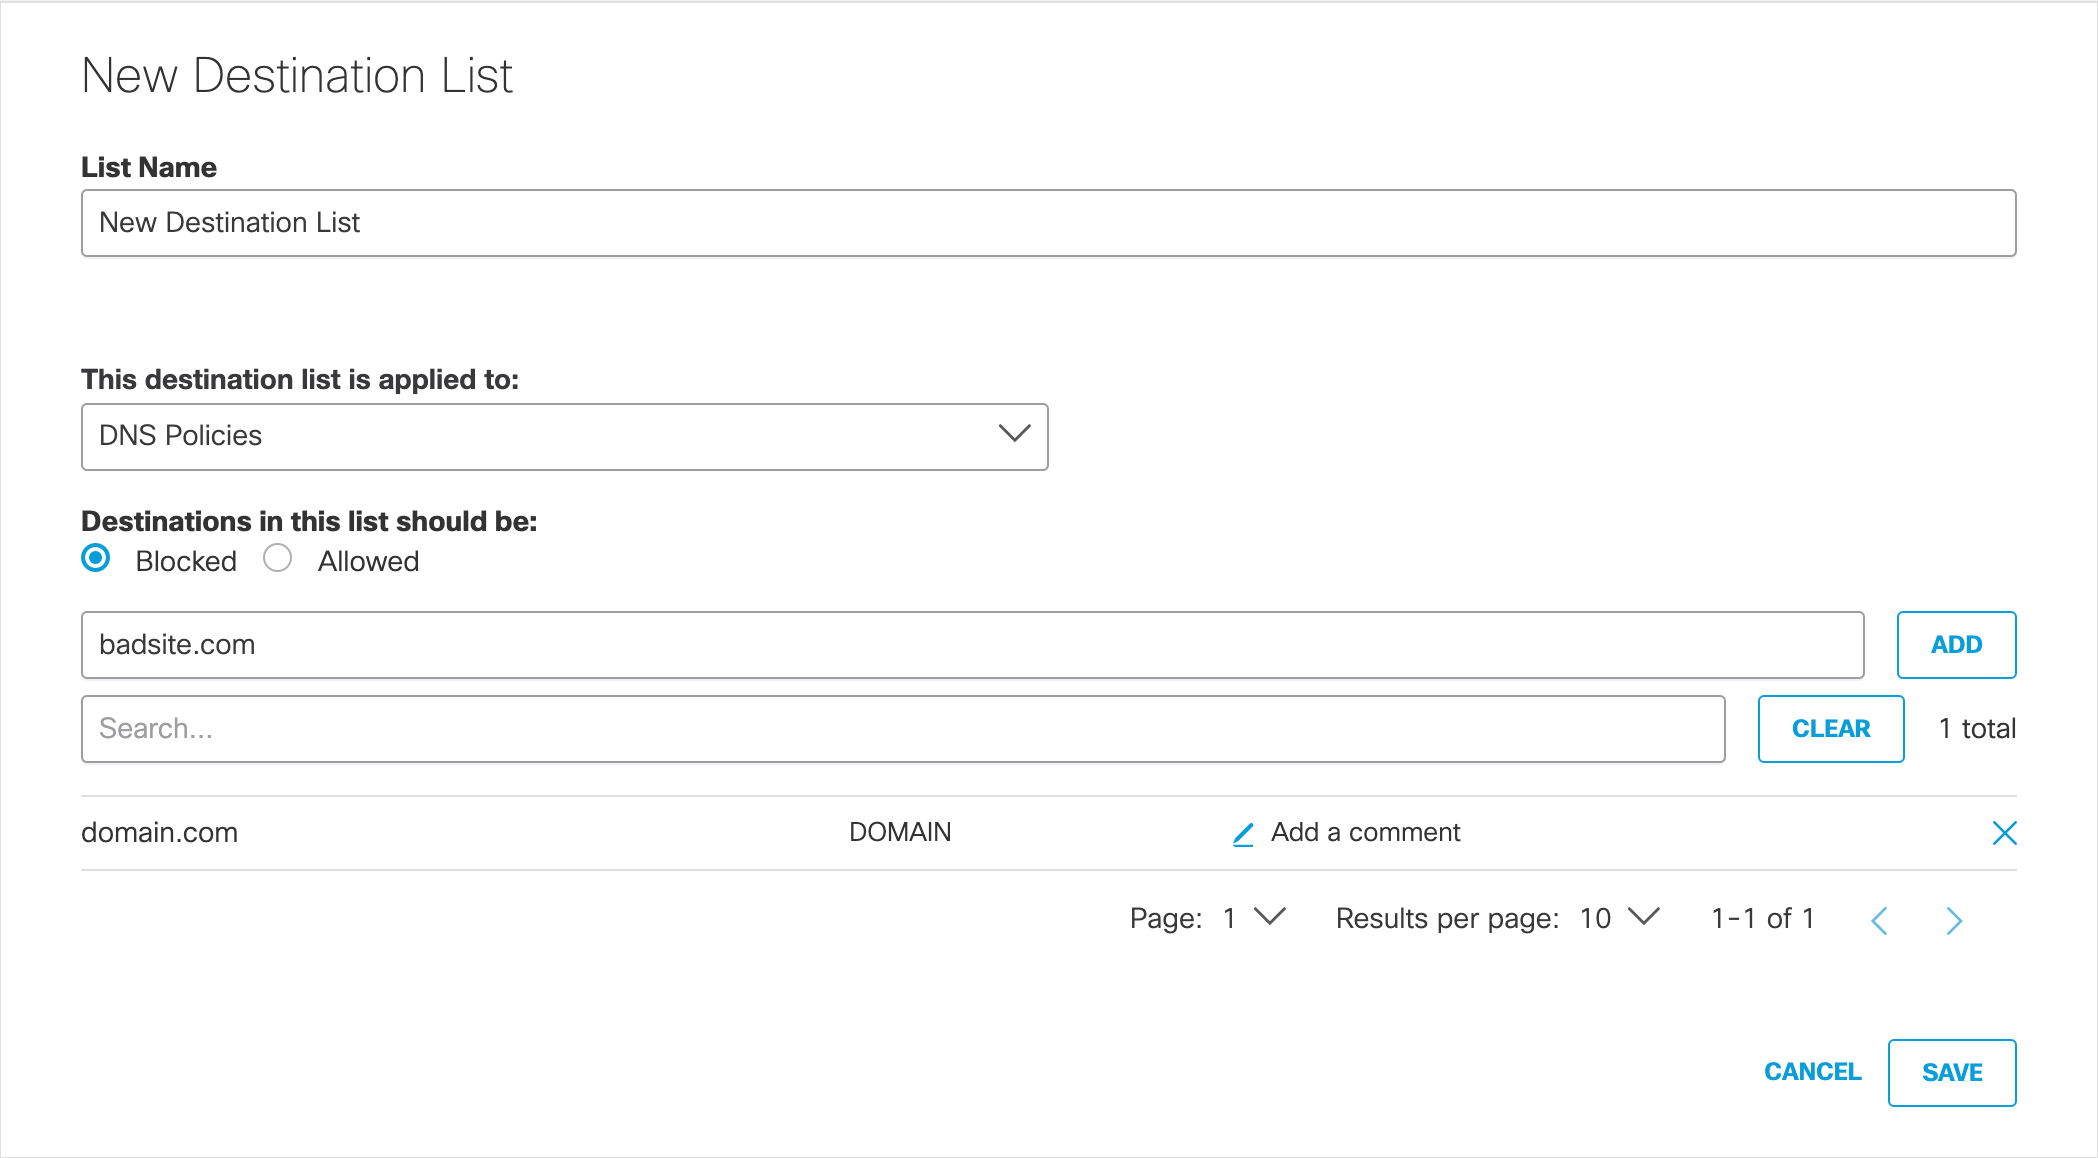
- Give your destination list a good descriptive List Name.

-
From the This Destination List is Applied To drop-down list, choose DNS Policies.
-
Select Blocked or Allowed.
-
Add destinations.
Instead of adding destinations one at a time, you can bulk upload destinations through a text file. For more information, see Add Destinations in Bulk. -
Click Save.
This new DNS destination list is now available for selection when you add a DNS policy.

Manage Destination Lists < Add a DNS Destination List to a Policy > Add a Web Destination List
Updated over 1 year ago
