Google Suite
Before you begin:
You must have Google Super Admin privilege in the target domain and the integration user must be provisioned with a GSuite license.
Google Suite Licenses
Cloudlock primarily works with Google Drive and therefore supports only the Enterprise license.
In the Google Admin Console, ensure these settings are in effect for Google Drive:
- Google Drive must be set to on for everyone (Apps settings)
- Data access must be set to Granted (Apps settings)
- API Access must be enabled (Security settings)
- Allow users to install Google Drive applications (Security settings)
Browser Settings for Installation
To enable the installation process to complete successfully, private browsing modes and popup and ad blockers in your browser must be temporarily disabled. If you see the message “An error occurred while activating the platform”, make sure you are not using the Firefox "private browsing mode", and that any popup or ad blockers have been turned off; these cannot be used during installation.
Install Cloudlock for Google Drive
- Open the Google Admin Console for your domain (https://admin.google.com).
- Open the following link you received from Cloudlock Support (Cloudlock recommends the latest versions of Chrome or Firefox):
- Select Install App.
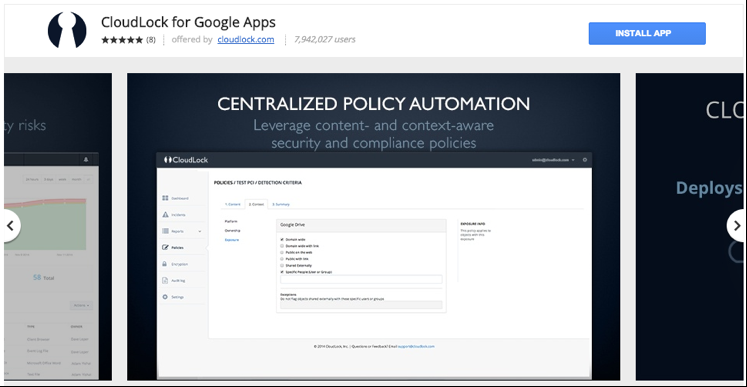
- In the window that appears, Agree to the terms, then select Accept.
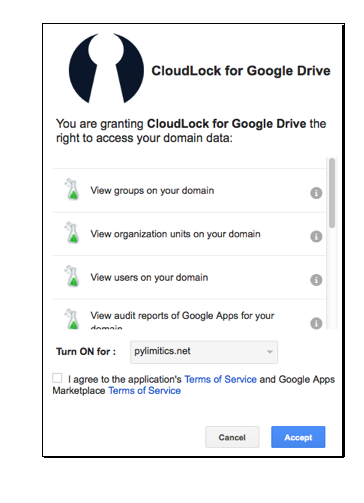
Complete list of requested scopes.
5. In the popup that appears, choose whether to send user notifications.
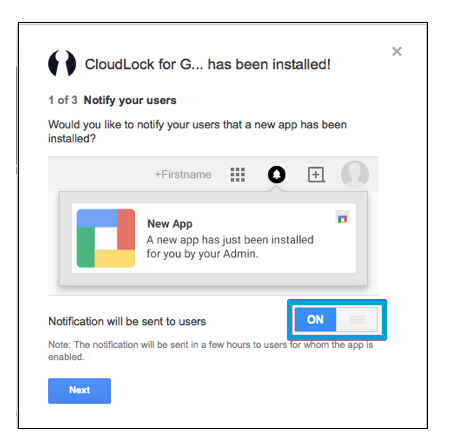
User Notifications
Cloudlock recommends turning user notifications OFF.
- Select Next in the following popup.
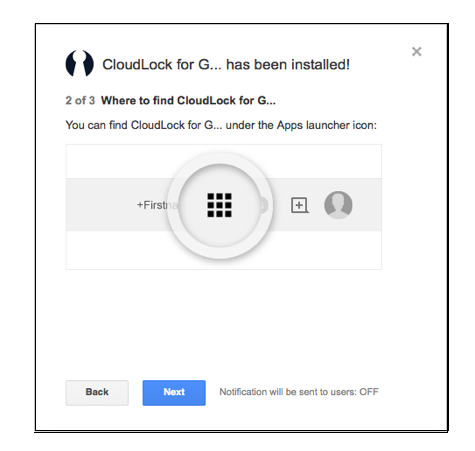
- Select Launch App.
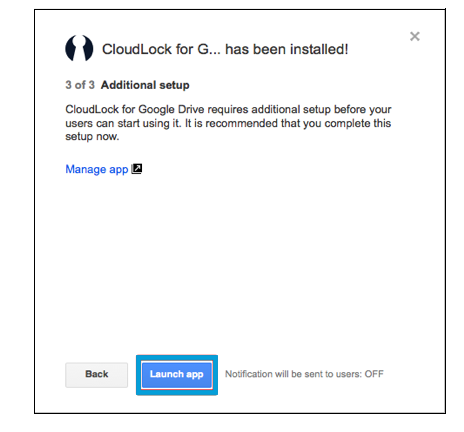
- If an informational form appears, finish the installation by completing it
The Cloudlock window opens, indicating that Cloudlock for Google Drive has been enabled for your domain.
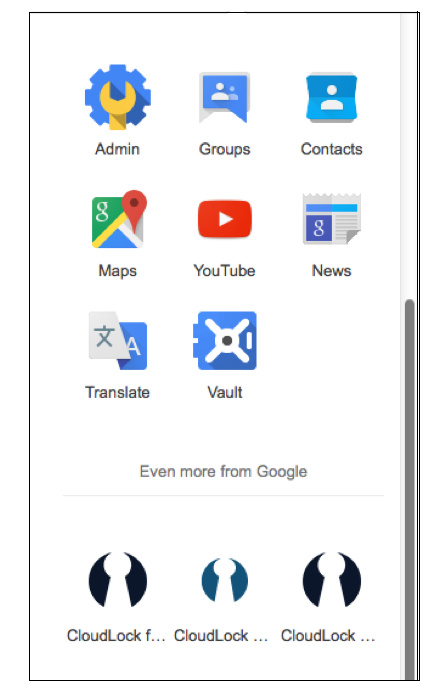
After installation, you can access Cloudlock in the Apps grid > More menu.
Installing Cloudlock for Google+
- Open the Google Admin Console for your domain.
- Open Apps > Marketplace Apps
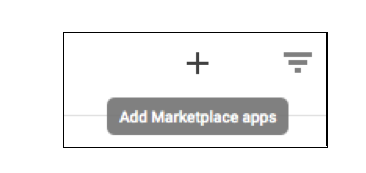
- Select the + icon to add a service to your domain.
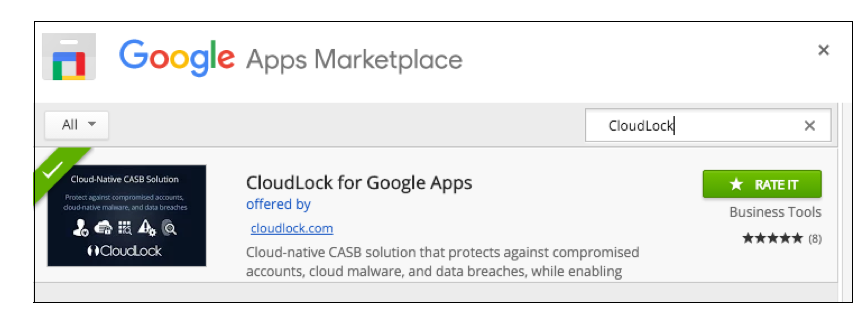
- In the Store window, search for Cloudlock.
- Select Cloudlock for Google Apps, then select Install App.
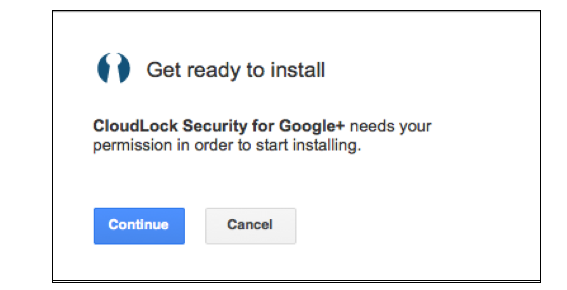
- Grant installation permission by clicking Continue.
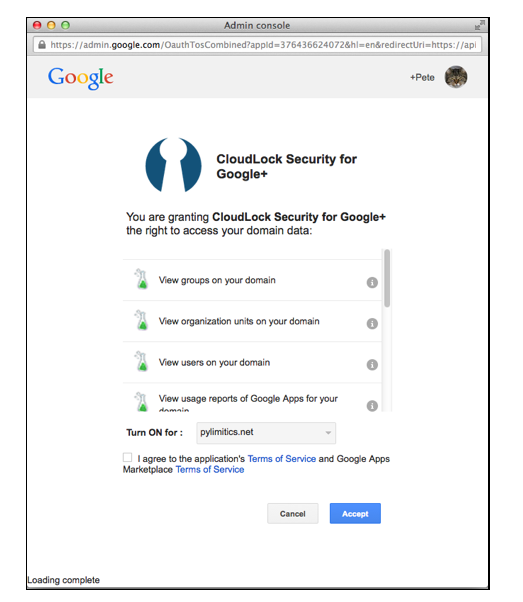
- In the window that appears, click Agree, then Accept.
- In the popup that appears, choose whether to send user notifications.
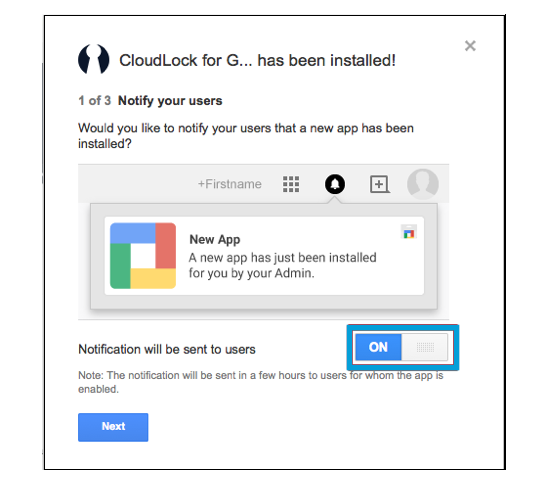
User Notifications
Cloudlock recommends turning user notifications OFF.
- Select Next in the following popup.
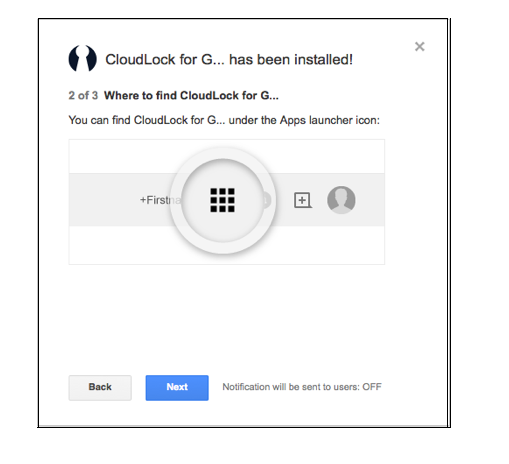
- Select Launch App.
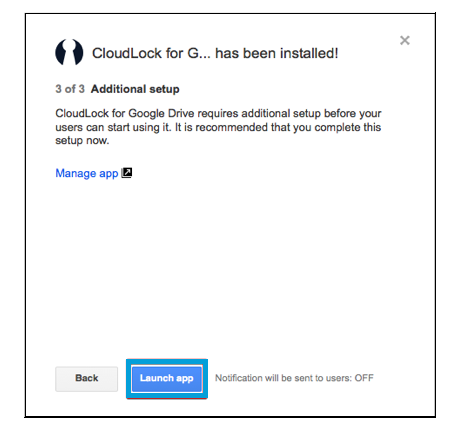
- If an informational form appears, finish the installation by completing it
- Launch Cloudlock for Google Apps in the Apps grid > More menu.
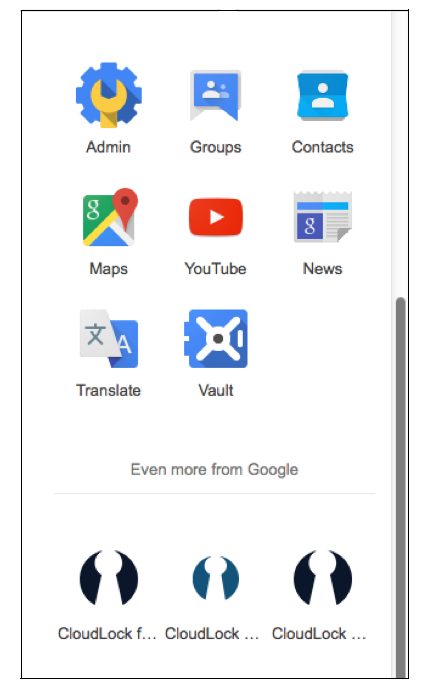
- Finish the installation by completing the form that appears.
The Cloudlock window opens, indicating that Cloudlock for Google+ has been enabled for your domain.
Adding Google Sites Support to Cloudlock
Customers currently using Cisco Cloudlock to monitor Google Drive can take advantage of Cloudlock’s Google Sites monitoring capability. To support Google Sites, Cloudlock has added additional scopes that must be enabled by customers. To enable Google Sites support, follow these steps:
- Open the Google administration page using superadmin credentials.
- Open Apps.
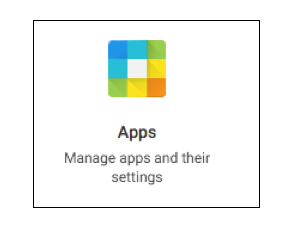
- Open Marketplace Apps.
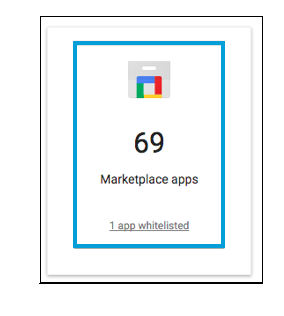
- Open Cloudlock for Google Apps.

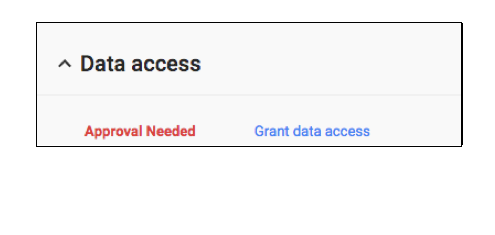
- Select Grant data access (next to the red "Approval Needed" notification).
Authorize in Cloudlock
Follow these steps to configure Google Drive in Cloudlock. This will initiate the monitoring process:
- Select Settings from the Cloudlock navigation panel.
- In the Settings panel, Platforms tab, select Authorize in the Actions column for Google:
- Select Google:
- Select the Google product you use and enter a name for your configuration.
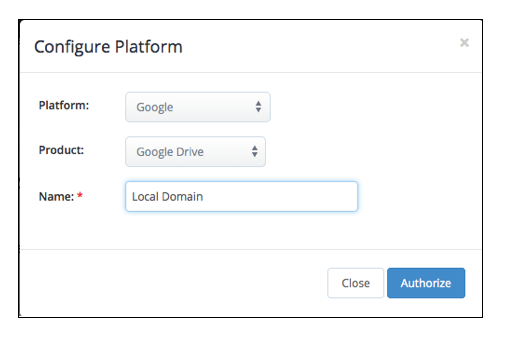
- Select Authorize.
The Configure dialog closes. You have finished configuring your Google platform in Cloudlock. Monitoring begins immediately, using Cloudlock’s pre-configured policies.
Updated over 3 years ago
