Deploy VAs in Nutanix
Two virtual appliances (VAs) are required for each Umbrella site. It is critical that these VAs are not cloned or copied in any way. Each VA must be set up and configured manually.
Table of Contents
Prerequisites
- Full Admin user role. For more information, see Manage Accounts.
- For information about the requirements for deploying Umbrella VAs, see Prerequisites.
- VA deployment is supported only on the current LTS version of Nutanix AHV
Configure Authentication for the Virtual Appliances
- For more information, see Configure Authentication for Virtual Appliances.
Procedure
Download the software package for the Umbrella Virtual Appliance.
When you download the software package for the VA and if you did not configure API key credentials for your AD Connectors and VAs, Umbrella displays a warning message. We recommend that you configure API keys for your AD Connectors and Umbrella VAs. For more information, see Configure Authentication for Virtual Appliances.
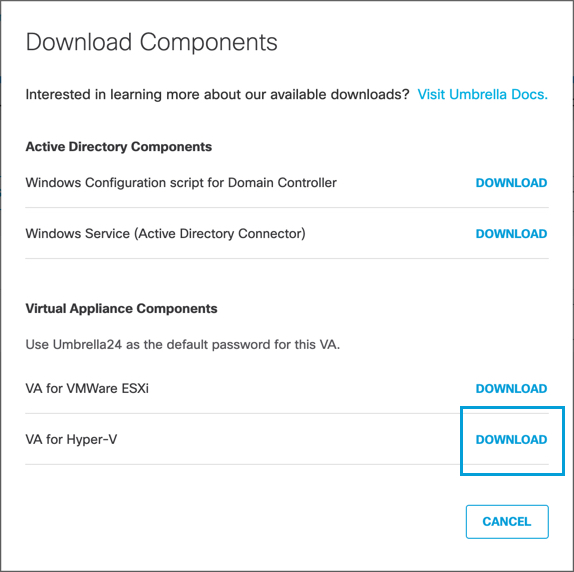
- Navigate to Deployments > Configuration > Sites and Active Directory and click Download.
- Click Download for VA for hyper-V.

Umbrella generates and downloads to your computer a .tar file unique to your deployment.
This tar file includes:
- a .zip file containing the virtual hard disks that need to be deployed on Nutanix
- a signature file
- a Cisco public certificate to validate the signature
- a readme file
- Extract the contents of the tar file using the command
tar –xvf <tar filename> -C <Destination folder>.
To verify the integrity of the downloaded file, validate the signature by following the instructions provided in the readme file. When successful, a message saying Verified OK appears. - Extract the downloaded zip file.
You will find two folders—Virtual Hard Disks and Virtual Machines—and a config file. Navigate to the Virtual Hard Disks folder and find the forwarder-va.vhd and dynamic.vhd files. - Log into the Nutanix AHV console, navigate to Settings > Image Configuration, and create two images (VAForwarder and VADynamic) by uploading the forwarder-va.vhd and dynamic.vhd respectively.
- Create a new VM with at least 1 vCPU (1 core), 1 GB RAM, and 1 NIC. Use Legacy BIOS instead of UEFI BIOS firmware option to boot the VM.
- Add a new disk using the VAForwarder image. Choose the operation Clone from Image Service and Bus Type as SCSI.
- Remove the CD-ROM. Add another disk using the VADynamic image with operation as Clone from Image Service and Bus Type as SCSI.
Note: The disk order is important. The VAForwarder should be Disk 0, the VADynamic should be Disk 1.
You can now power on the VA and configure it using either the console or by initiating an SSH connection to the VA. For information about configuring VAs, see Configure Virtual Appliances.
For more information about how to enhance throughput of the VA on Nutanix, see Enabling RSS Virtio-Net Multi-Queue by Increasing the Number of VNIC Queues.
Deploy VAs in KVM < Deploy VAs in Nutanix > Deploy VAs in Alibaba Cloud
Updated 5 months ago
