
Schedule a Report
When scheduling a report, it's important to select filters so that you receive only the data that you want and that your reports don't exceed 10,000 rows—the limit of an emailed report. As well, you want your scheduled report to be digestible and actionable by recipients. If you choose not to add filters, the report will apply to all traffic types for that report across your entire environment and may contain too much data to be readily read and interpreted by the recipient. With scheduled reports, you select filters for the report before you run the Schedule wizard.
Note: Once scheduled, if you do not receive the report, check the spam filter at your mail server gateway, whether that's hosted locally or hosted in the cloud, as it's likely the email was quarantined at that level.
Prerequisites
- Full admin access to the Umbrella dashboard. See Manage User Roles.
Procedure
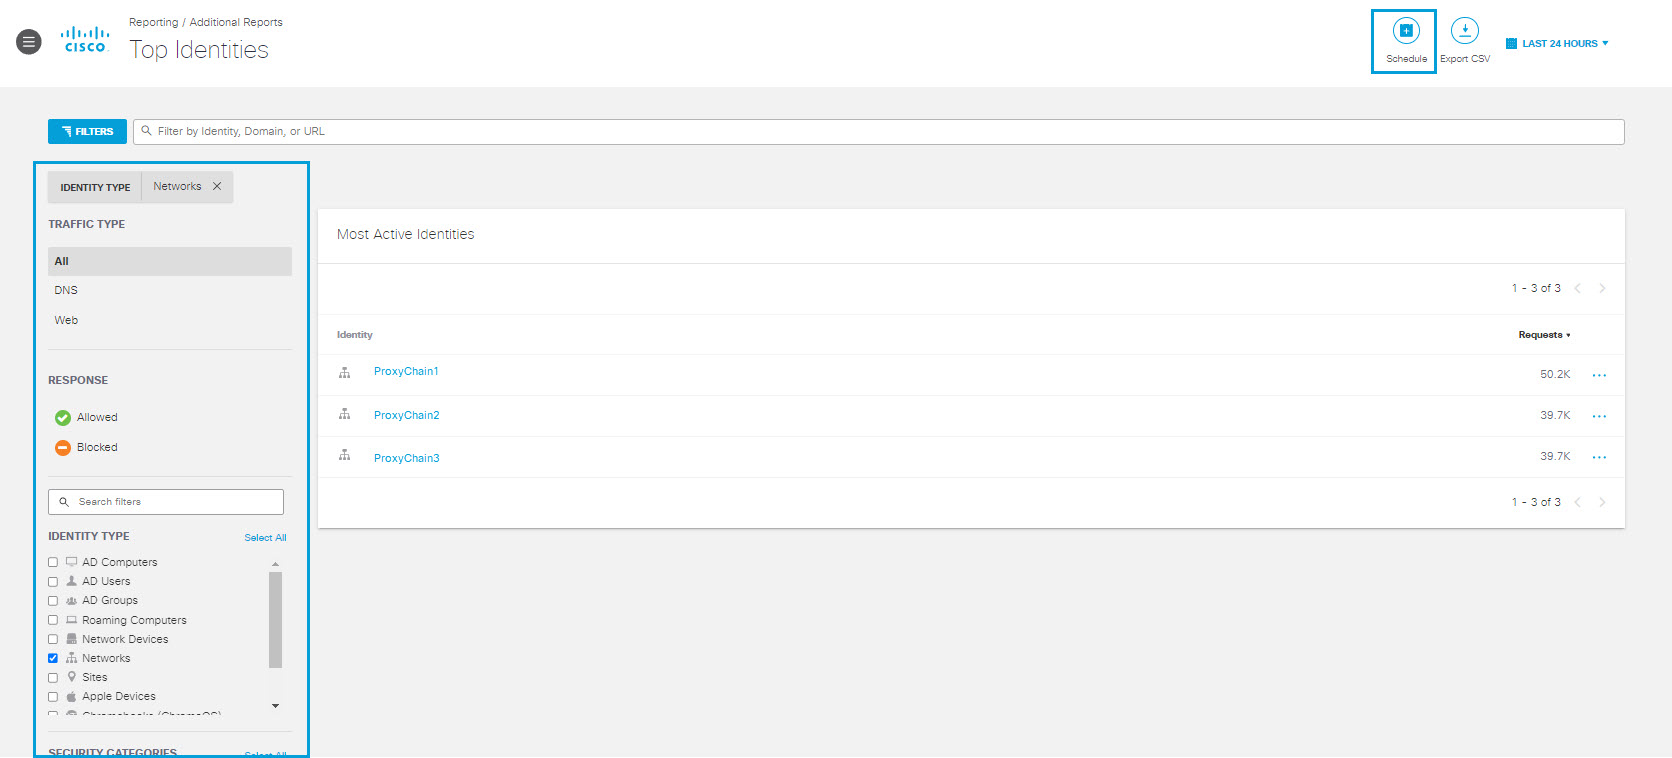
- Navigate to Reporting and select the report you want to schedule.
For a list of schedulable reports see Schedule Reports. - Select and Apply filters for the report and then click Schedule.
Filters are applied to the report and the Scheduling wizard opens.
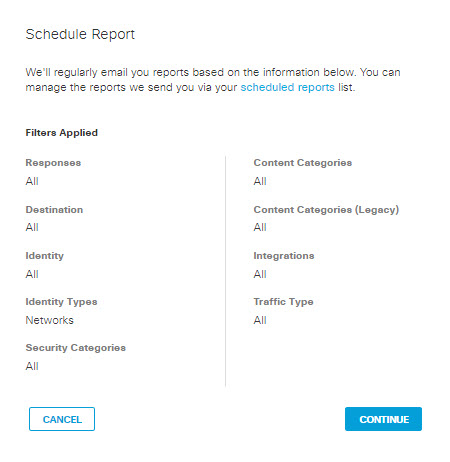
- In the wizard, review filters and click Continue.
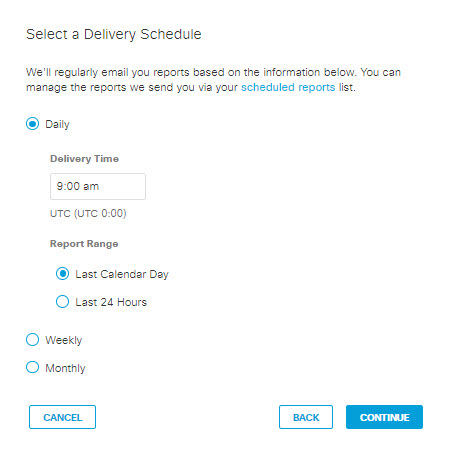
- Select time parameters to set when and how often you want this report sent to recipients and click Continue.
For each time period, you can specify a time and range within that time period.
The time of delivery defaults to the logged in user's Umbrella's timezone, but if recipients are in different time zones, you can configure them to receive reports during their work hours. If the recipient is an administrator or helpdesk staff expected to take action on information in the report, we recommend setting up a second report with the delivery time adjusted for the recipient's region.
Note: Attempting to schedule a report for a time on the current day, regardless of whether the report is scheduled in the future from the current time on that same day, results in the report being scheduled on the next day at the earliest for weekly and monthly frequencies.
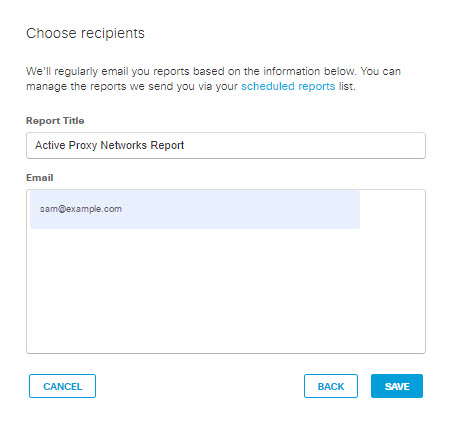
- Give your report a good descriptive name, add email addresses for recipients of this report, and click Save.
Enter as many recipients as you like separating addresses with a comma or semicolon.
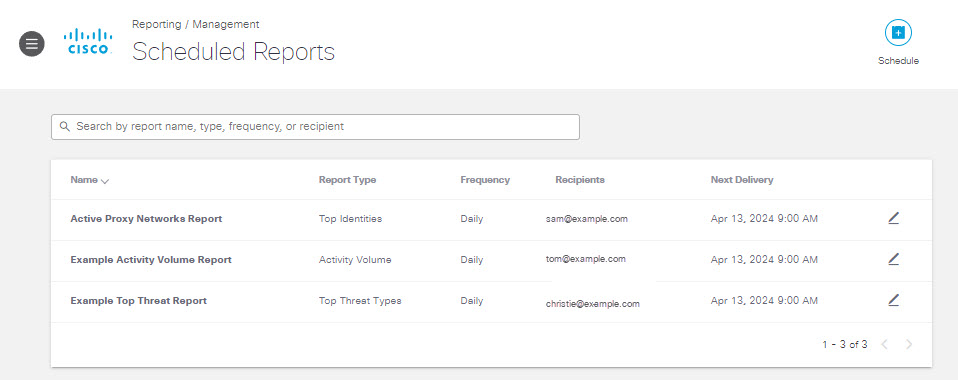
- Your newly scheduled report is listed at Reporting > Management > Scheduled Reports.
You can update this schedule at any time. For more information, see Update a Scheduled Report.
Unsubscribe From a Report
You can unsubscribe from a scheduled report at any time by clicking the Unsubscribe link at the bottom of the email.
Schedule Reports < Schedule a Report > Update a Scheduled Report
Updated over 1 year ago