Configure Block Pages
A block page is a page that's displayed when a user of the Umbrella service tries to go to a website that's blocked by the policy for the identity under which the user falls.
The first step is to create the block page itself. This may be something you are familiar with from creating block pages for your individual customers within their organization—in the Umbrella dashboard at Block Page Settings > Block Page Appearance within a customer's organization.
For information on bypassing a block page, see Bypass Users.
Note: Organizations with Umbrella dashboard access are able to see the centralized setting but cannot modify it.
- Navigate to Centralized Settings > Block Pages.

- Click Add a Setting or expand an existing block page setting.
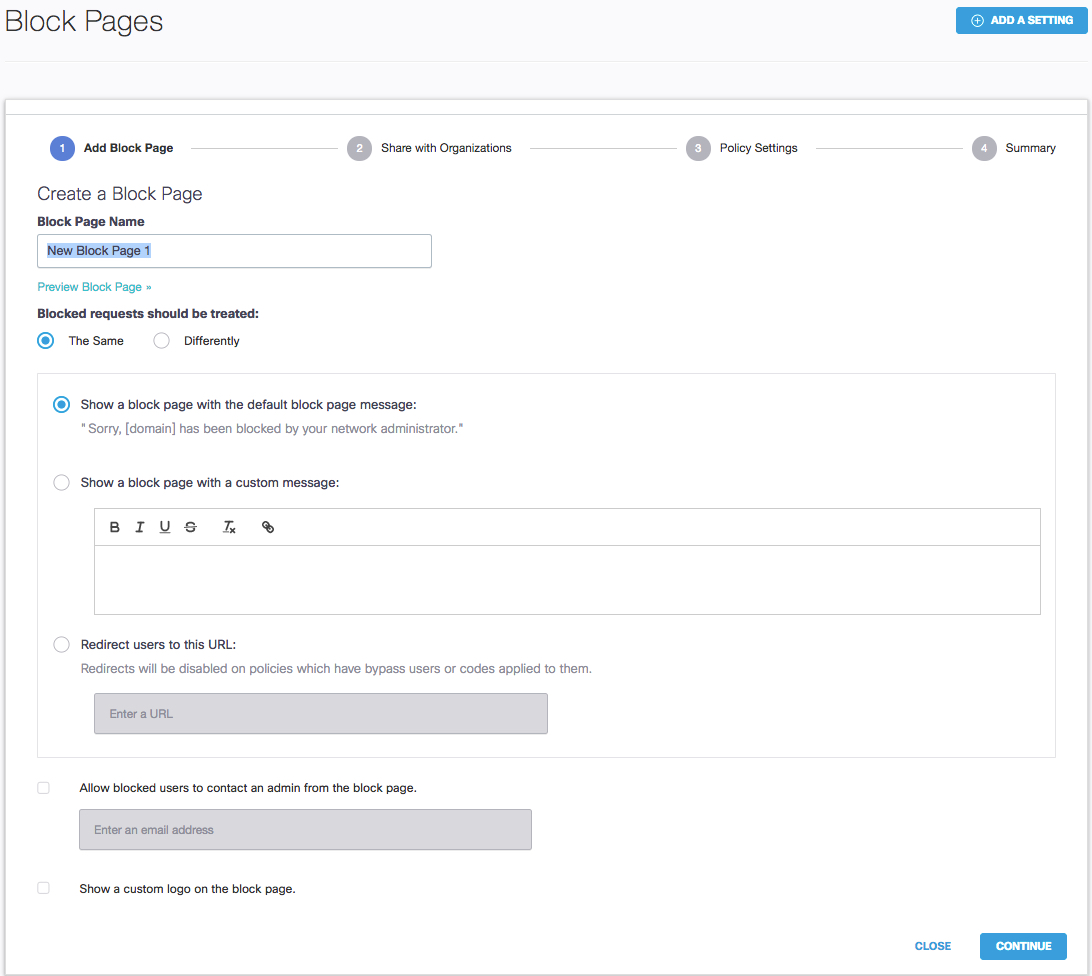
- Give your block page a meaningful name and then select how to treat block pages: The Same or Differently.
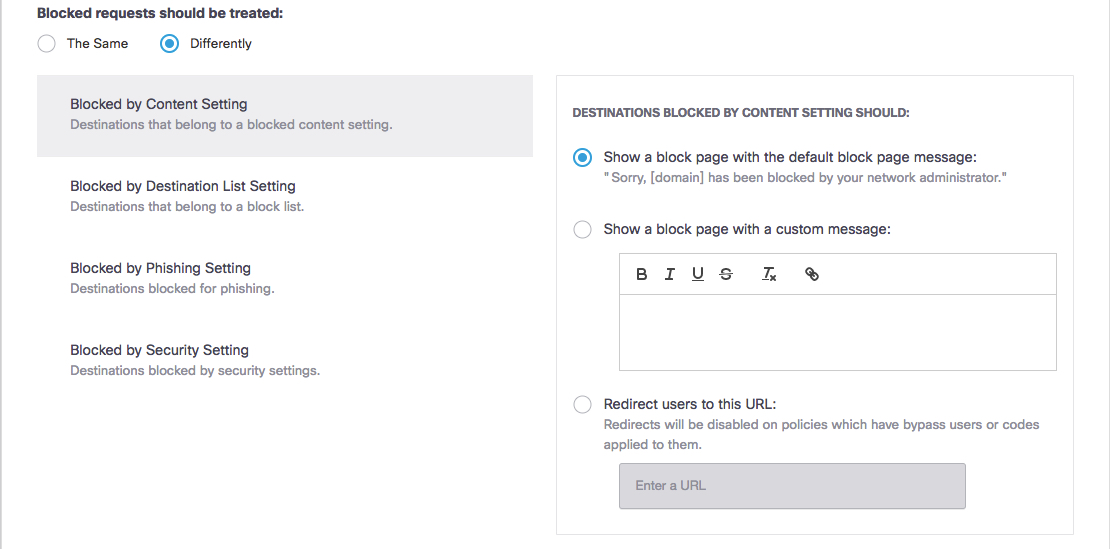
If you select Differently, you can select contextual block pages for different types of blocking: Blocked by Category Setting, Blocked by Destination List Setting, Blocked by Phishing Setting, or Blocked by Security Setting.
Optionally, select for display a default message, select a custom message, or redirect users to a URL.
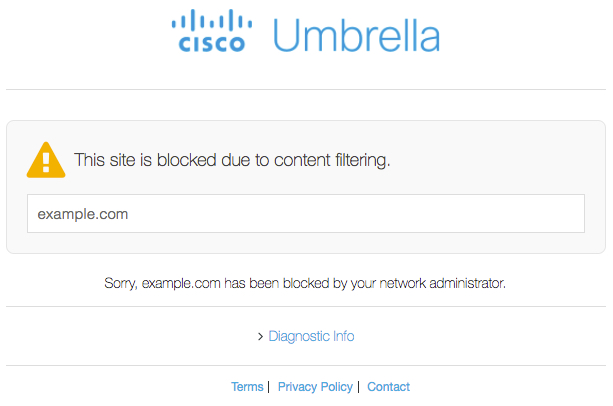
- Click Preview Block Page at any time to see what your Block page will look like.
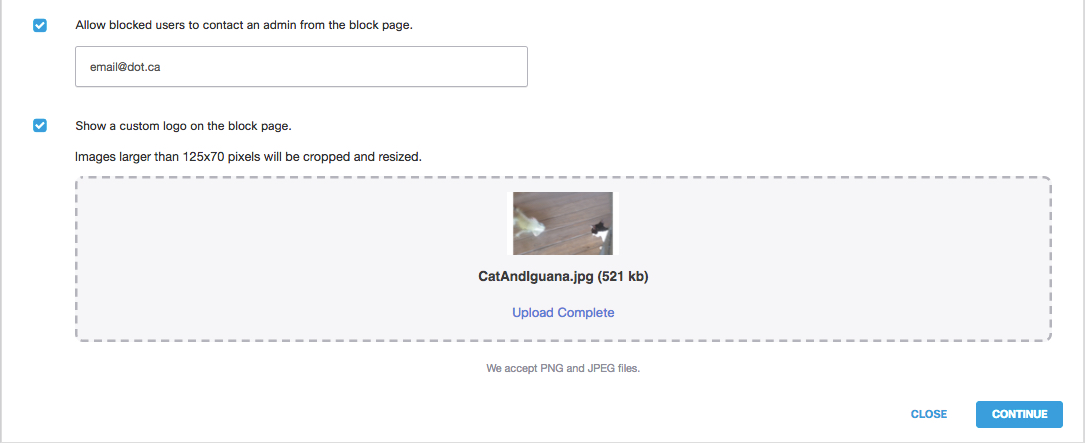
- You can optionally check Allow blocked users to contact an admin from the block page and add a graphics file to display as a custom logo on the block page.
This brands the block page, making it clear where the block is coming from.
- Click Continue.
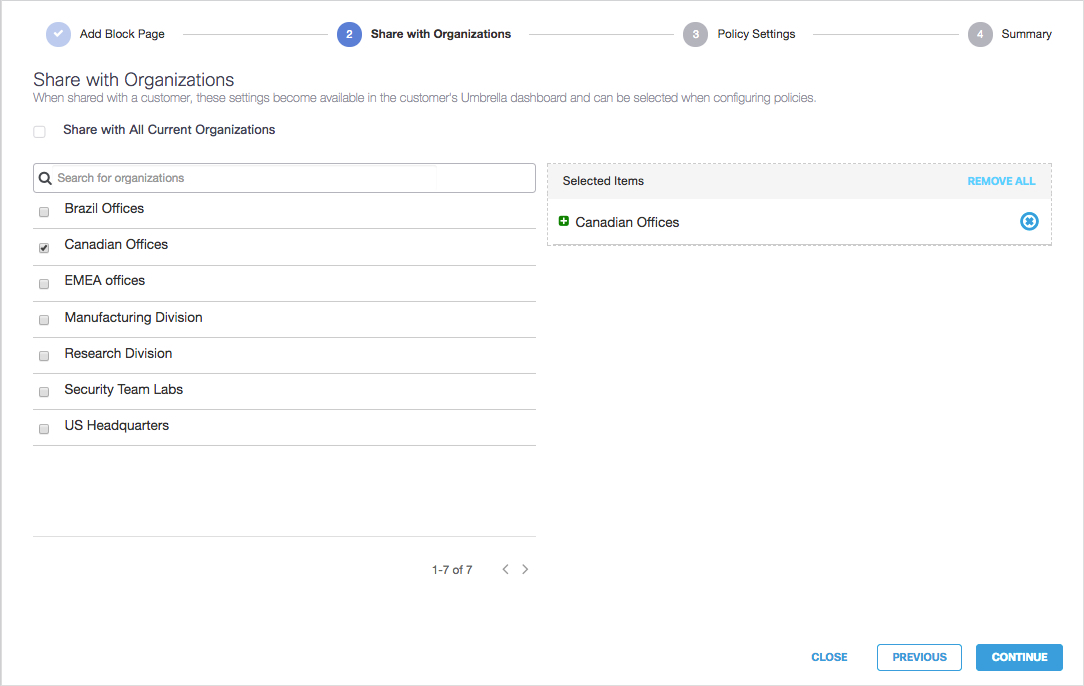
- Select the organizations with whom you want to share this block page and click Continue.
When shared with an org, these settings become available in that organization's Umbrella dashboard and can be selected when configuring policies. You can also choose not to share this block page with orgs by clicking Continue without selecting any orgs.
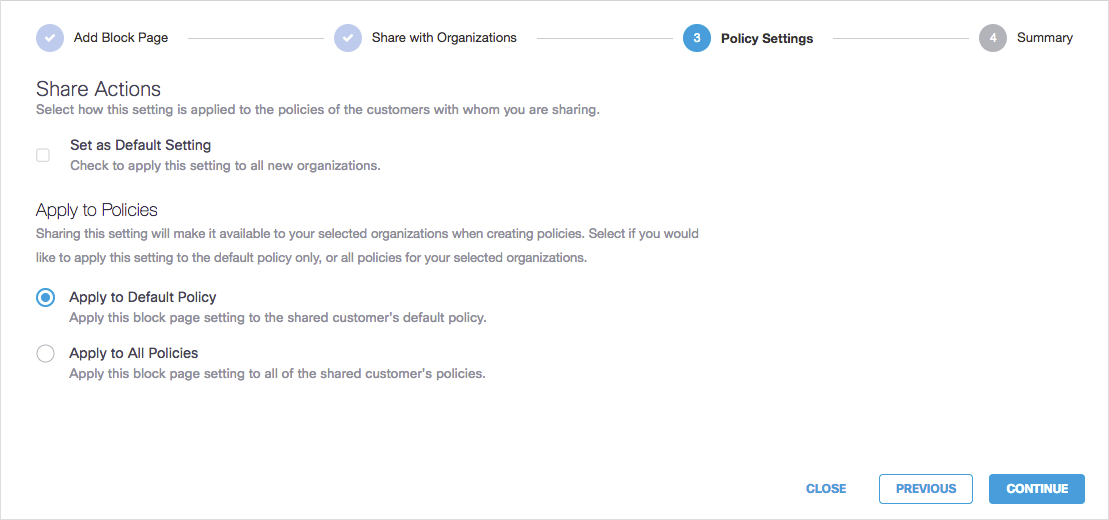
- From the Policy Settings page, choose how you would like to have this block page applied to the Umbrella policies of both your existing organizations and any new organizations you might add. Choose from the following options:
- Set as Default Setting—If selected, this block page will be applied to the default policy of any new organizations. This setting is not applied to the default policy of existing organizations in Umbrella.
Note: You must always have at least one default block page. A block page that has Set as Default Setting selected cannot be deleted until that setting has been de-selected. - Apply to Default Policy—When selected, this block page is applied only to the default Umbrella policy of the organizations you selected in the previous step—Share with Organizations. All other Umbrella policies for the selected organizations remain the same.
- Apply to All Policies—When selected, this block page is applied to all of the Umbrella policies for the organizations you selected in the previous step—Share with Organizations. This includes the selected organizations' default policy.
Note: When you select Apply to all Policies, the next time you access this setting it appears that it has reset to Apply to Default Policy. It has not and your Umbrella policies are not changed. Once configured, to change Apply to All Policies to Apply to Default Policy, you must select Apply to Default Policy and click Save & Close.
If you wish to re-apply this setting for an org, remove the setting from that org, then re-share the setting with Apply to All Policies checked.
- Click Continue.
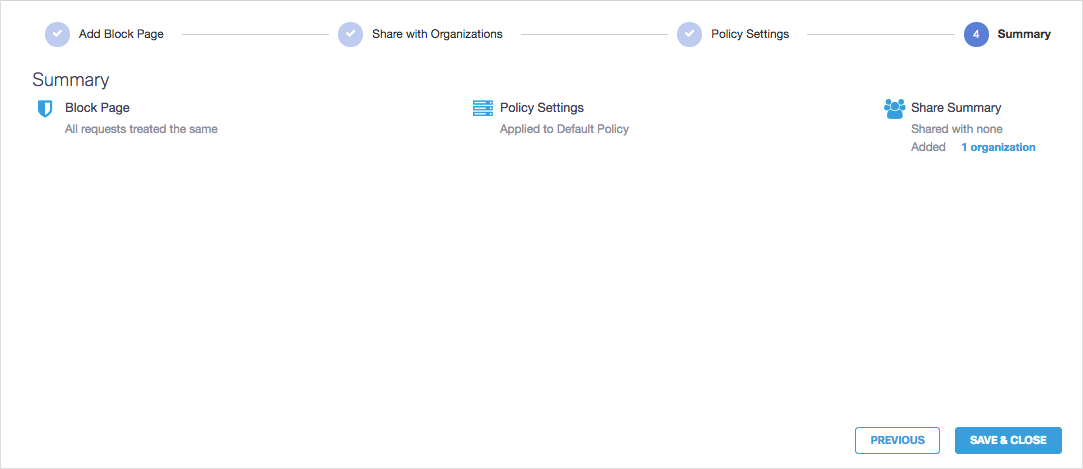
- Review your block page settings and click Save & Close.
Each link under Share Summary opens a modal window that lets you view which organizations will share this block page setting.
Bulk Upload Destinations < Configure Block Pages > Configure Content Settings
Updated almost 2 years ago
