Enable Cloud Malware Protection for Azure Tenants
Umbrella supports Cloud Malware protection for files within your Azure deployment.
Table of Contents
- Prerequisites
- Limitation
- Authorize an Azure Tenant
- Run an Azure PowerShell Script to Obtain Account Information
- Revoke Authorization
Prerequisites
- You must have full admin access to the Umbrella dashboard. See Manage User Roles.
- You must have an active Azure account and the person doing the installation must be an Azure Global Admin.
- Chrome or Firefox (recommended) with pop-up blockers and ad blockers disabled (only for the duration of
authorization)
Limitation
- A tenant that fails to authenticate cannot be deleted.
Authorize an Azure Tenant
- Navigate to Admin > Authentication.
- In the Platforms section, click Azure Storage.
- In the Cloud Malware section, click Authorize New Tenant to add an Azure tenant to your Umbrella environment.
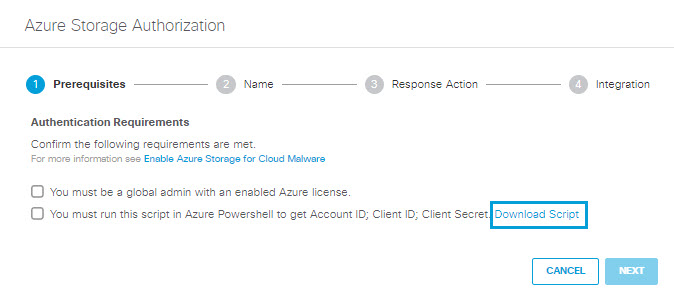
- In the Azure Storage Authorization dialog box, click Download Script to download the Azure PowerShell script AzureOnboarding.ps1. Save the script to your local machine, then run the script in the Azure PowerShell before proceeding to the next step. Be sure to note the information the script will provide: Account ID, Client ID, and Client Secret.
Note: If you enable both Cloud Malware and DLP protection for a tenant, you can use the same account information for both. If you have already established DLP protection for a tenant, you need not run the PowerShell script again.
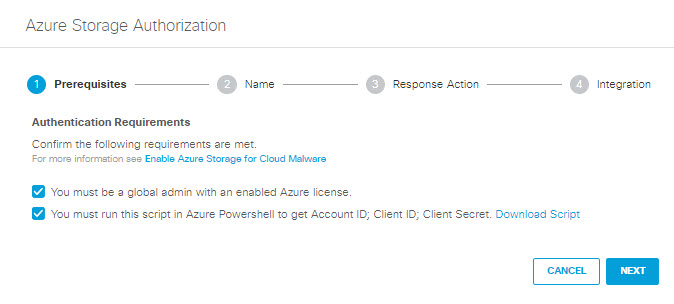
- In the Azure Storage Authorization dialog box, check the checkboxes to verify that you have met the prerequisites, then click Next.
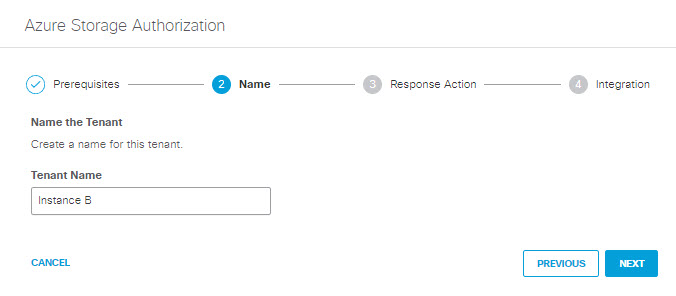
- Enter a Tenant Name that is meaningful for your environment, then click Next.
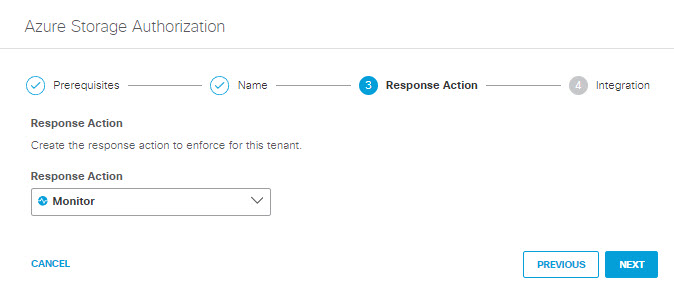
- Choose Monitor for the Response Action for Umbrella to apply to Azure files found with malware, and click Next.
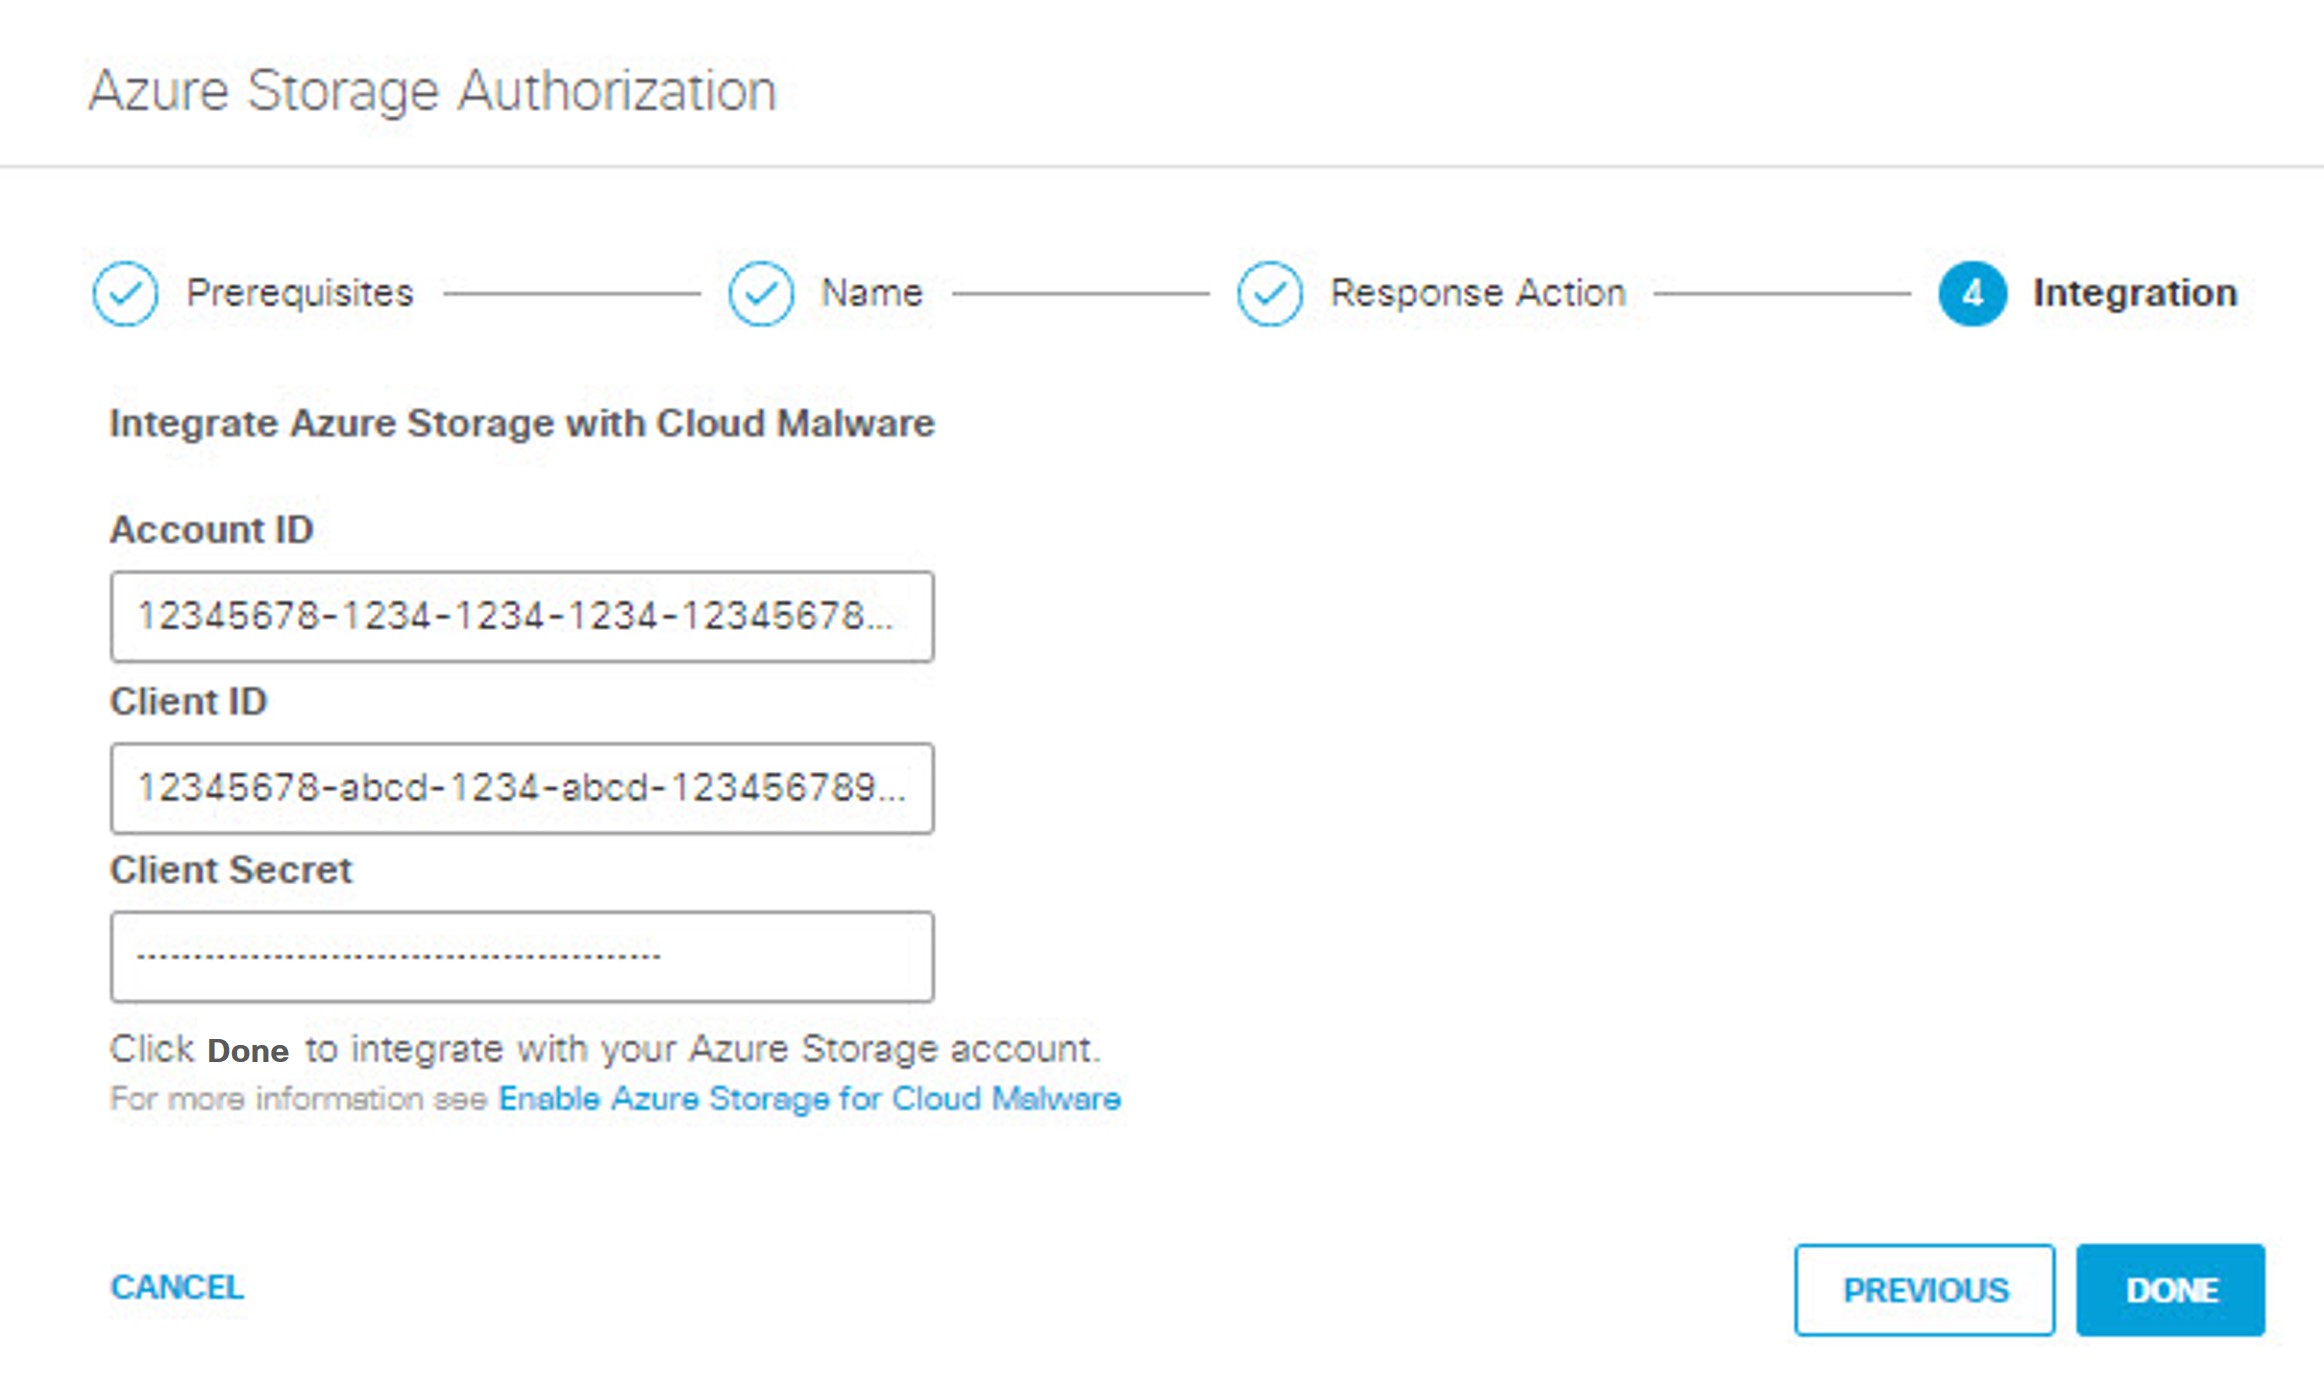
- Paste the Account ID, Client ID, and Client Secret (which you obtained when you ran the PowerShell script in the Azure portal) in the appropriate boxes and Click Done. (It may be up to 24 hours for the integration to be confirmed and appear as Authorized on the Authentication page)
Run an Azure PowerShell Script to Obtain Account Information
Note: If you enable both Cloud Malware and DLP protection for a tenant, you can use the same account information for both. If you have already established DLP protection for a tenant, you need not run the PowerShell script again.
- In the Azure portal, open a terminal window to the PowerShell.
- Upload the script you downloaded in Step 4 of Authorize a Tenant: In the Azure portal choose Manage Files > Upload, and choose the file.
- Azure will display a message reporting Successfully uploaded a file and show the location and file name; note this information before dismissing the message.
- In the terminal window, set your current directory to the location of the uploaded file.
- To run the script, at the caret prompt (>) in the terminal window, enter ./AzureOnboarding.ps1.
- The script will prompt you to log into a web browser at https://microsoft.com/deviceLogin, and provide you with a code to authenticate. (If you get an error indicating you are already signed in, log out and log back in again.)
- After initiating the login process, return to the terminal window.
- The login process will present you with a numbered list of subscriptions available to you. (The subscription provides the environment where Azure will create resources needed to onboard Azure Storage for Umbrella DLP protection.) Enter the number corresponding to the subscription you want to work in, or press enter to use the default subscription, indicated with an asterisk.
- The script will present a list of available subscriptions. Enter the name of the same subscription you chose during the login process in the previous step.
- The script will present a list of Resource Groups available within the subscription you have chosen, and prompt you to enter the name of the Resource Group you want to use. This is where the resources needed for onboarding will reside.
- For each Storage Account associated your subscription, the script will offer you the chance to add that Storage Account to the list of Storage Accounts with data to be scanned by Umbrella DLP. When presented with each Storage Account name, press Enter to add that account to the list, or Escape to skip that account. Azure will display messages confirming your choices.
The script then proceeds to create the resources needed to support Umbrella DLP. - When the script has completed processing, it will display an Account ID, a Client ID, and Client Secret. Copy that information and return to Step 5 in Authorize an Azure Tenant .
Revoke Authorization
- Navigate to Admin > Authentication.
- In the Platforms section, click Azure Storage.
- From the Action column, click Revoke. You can revoke any authorized tenant.

- Click Revoke. The selected account is no longer authorized.

Enable Cloud Malware Protection for AWS Tenants < Enable Cloud Malware Protection for Azure Tenants > Enable Cloud Malware Protection for Box Tenants
Updated 9 months ago


