
Discovery Scan
Discovery Scan inspects the content of all files in the tenant that are modified over the selected date range. Umbrella assesses files in the selected tenant as they are scanned upon content change and context (sharing) change. Files containing data matching the Data Classifications configured for the Discovery Scan are considered to be in violation. If Umbrella detects a violation, the offending file is listed in the Data Loss Prevention Report.
This topic walks you through how to initiate a scan and how to cancel an ongoing scan.
Note: A discovery scan must be triggered around 24 hours after tenant authorization as the system evaluates and enumerates the users in the organization. Any triggering beforehand might not include all users. Umbrella performs discovery scans on files of up to 50 MB. Scans are performed archives as well as files containing embedded files; for these, DLP can extract and scan content for up to 100 files nested up to 10 levels deep.
Prerequisites
- Your Umbrella deployment must be licensed for the SIG Essentials or SIG Advantage package. For more information, see Cisco Umbrella Packages and Determine Your Current Package.
- You must authenticate a tenant for at least one of the platforms Umbrella supports for SaaS API Data Loss Prevention: Google Drive, Microsoft 365, Dropbox, and Box. For more information, see Manage SaaS API Data Loss Prevention.
Initiate a Discovery Scan
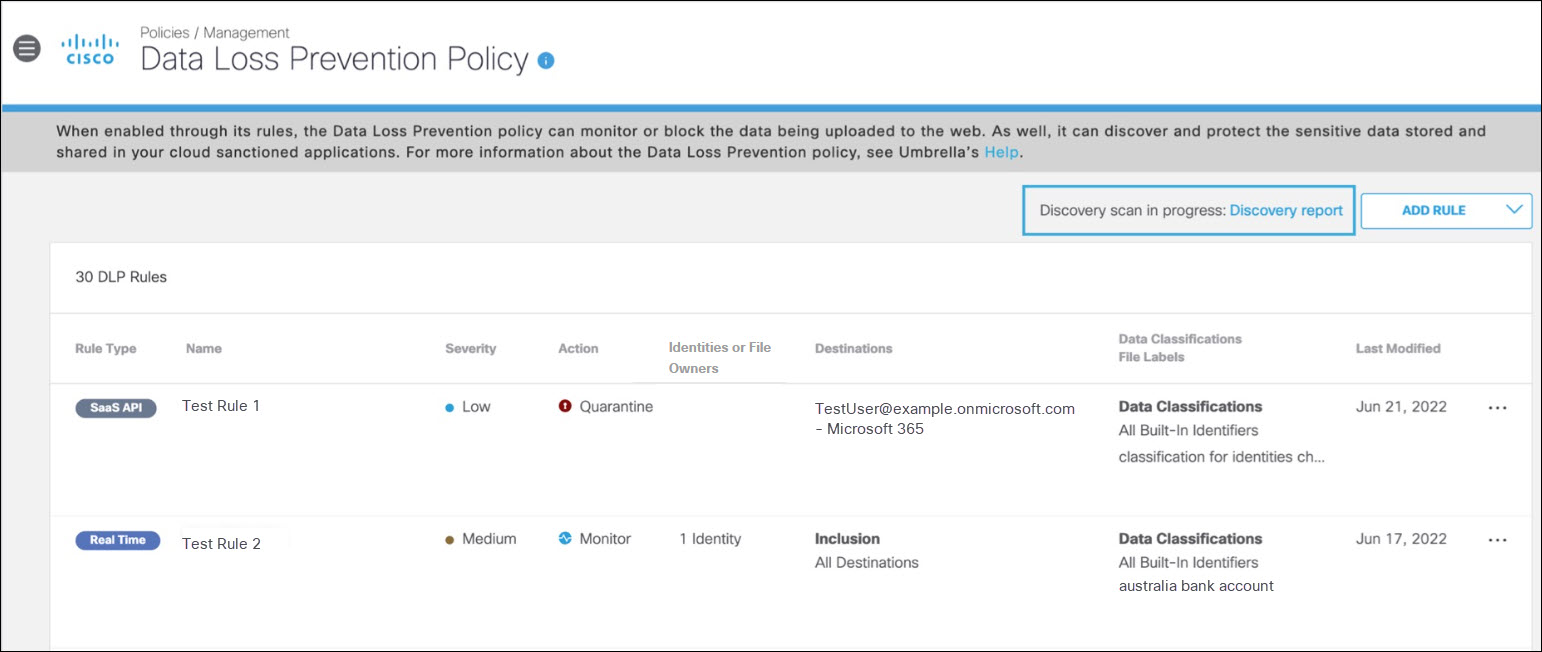
- Navigate to Policies > Management > Data Loss Prevention Policy.
- Click Discovery Scan.

- Enter the Scan Details. Choose a platform and tenant of the platform from the drop-down lists. You can select multiple tenants.

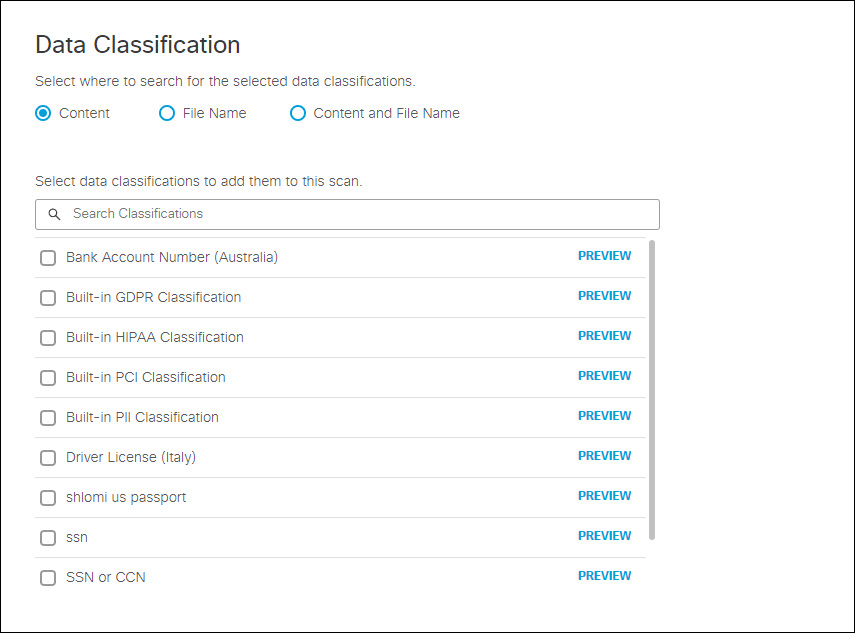
- Select where in uploaded files you would like the scan to search for the data classifications that you choose.
- Content—(Default) Searches only the content of files for the selected data classifications.
- File Name—Searches only file names for the selected data classifications.
- Content and File Name—Searches content and file names for the selected data classifications. Both content and file name do not need to match for the scan to apply, only one or the other.
Note: Choosing Content, File Name, or Content and File Name refers to scanning file uploads for the selected data classifications and configured file labels.
Select the required Data Classification of your choice.

- Select the required Data Classification of your choice.
You may filter by Data Classification names using the Search Classifications box.
- Enter the Date Range to define the scanning scope. Note that only files modified in the selected date range are scanned.
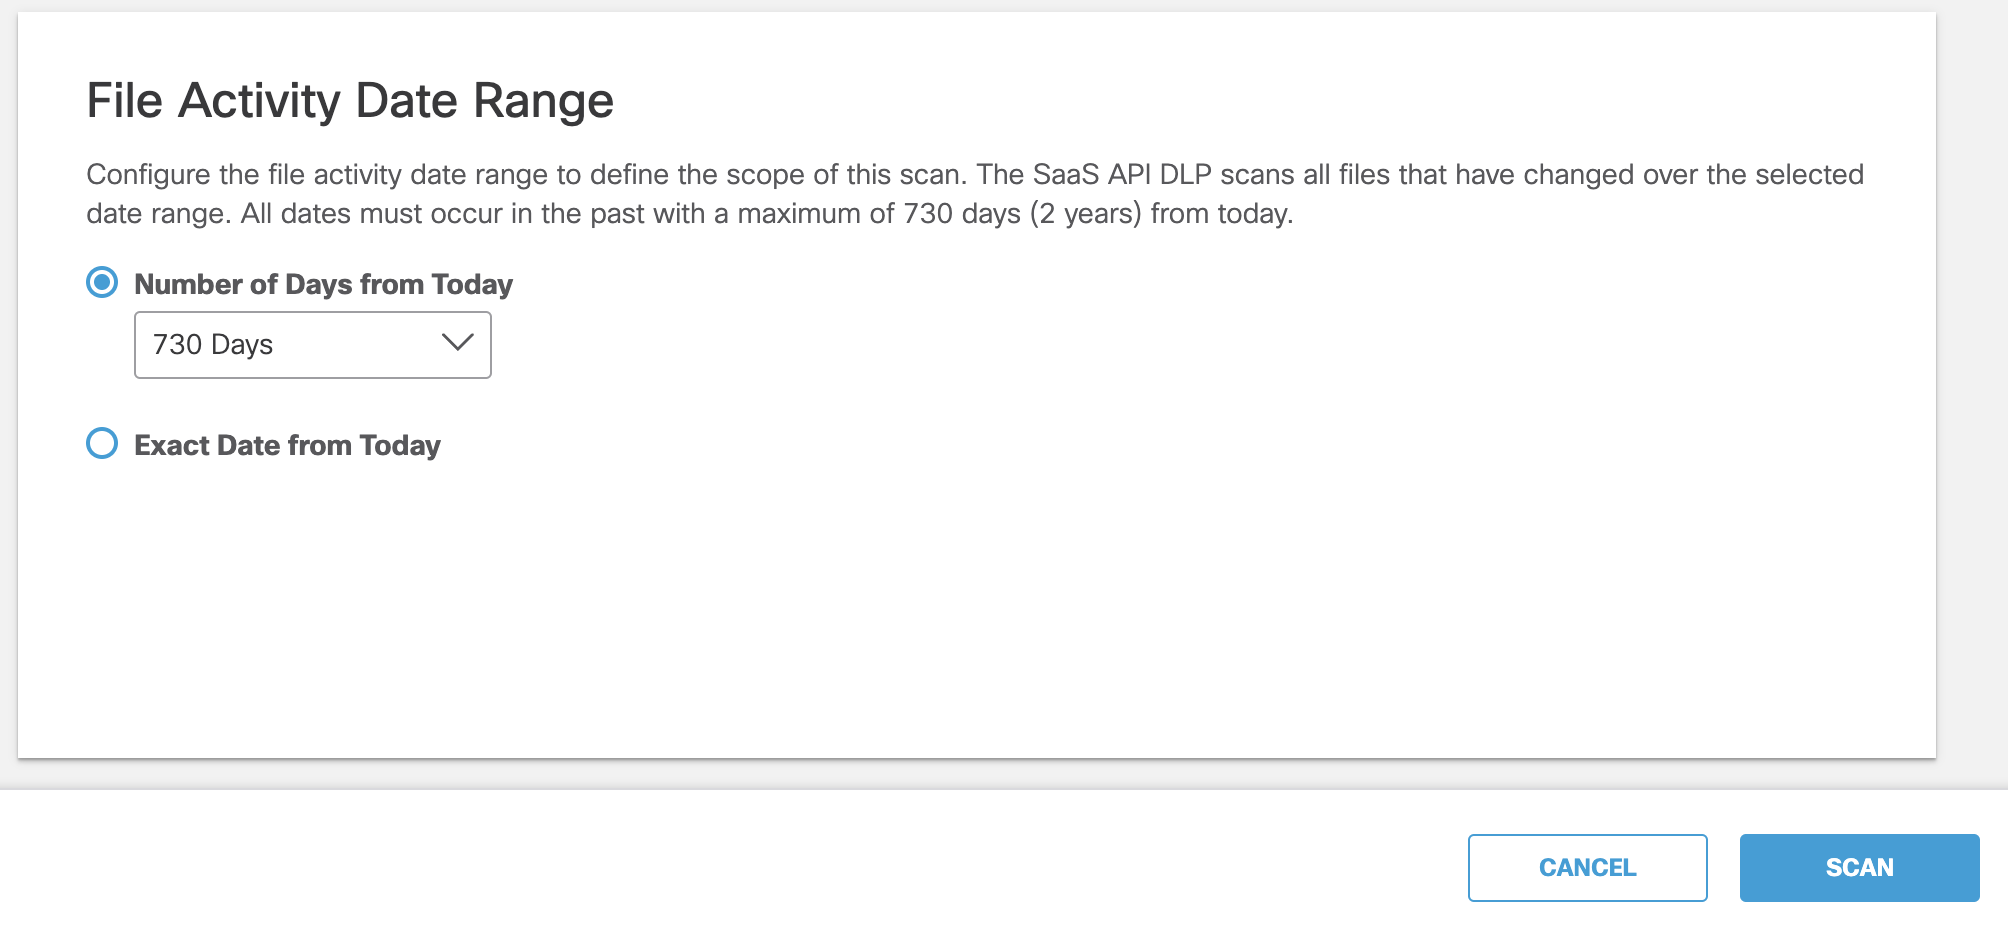
- Click Scan to initiate.
- Click Continue and Scan.
Note: Only one scan executes at a time. The scan might take a while. Once completed, you can initiate another scan.

- Click Discovery Report to view the progress of the scan results.
For more information on DLP reports, refer to DLP Report.
Cancel a Discovery Scan
- Navigate to Reporting > Additional Reports > Data Loss Prevention.
- Switch to the Discovery tab.

- Click Cancel Scan. Results of the ongoing scan are displayed in the ribbon.
Note that the cancelation of a scan might take a few minutes.
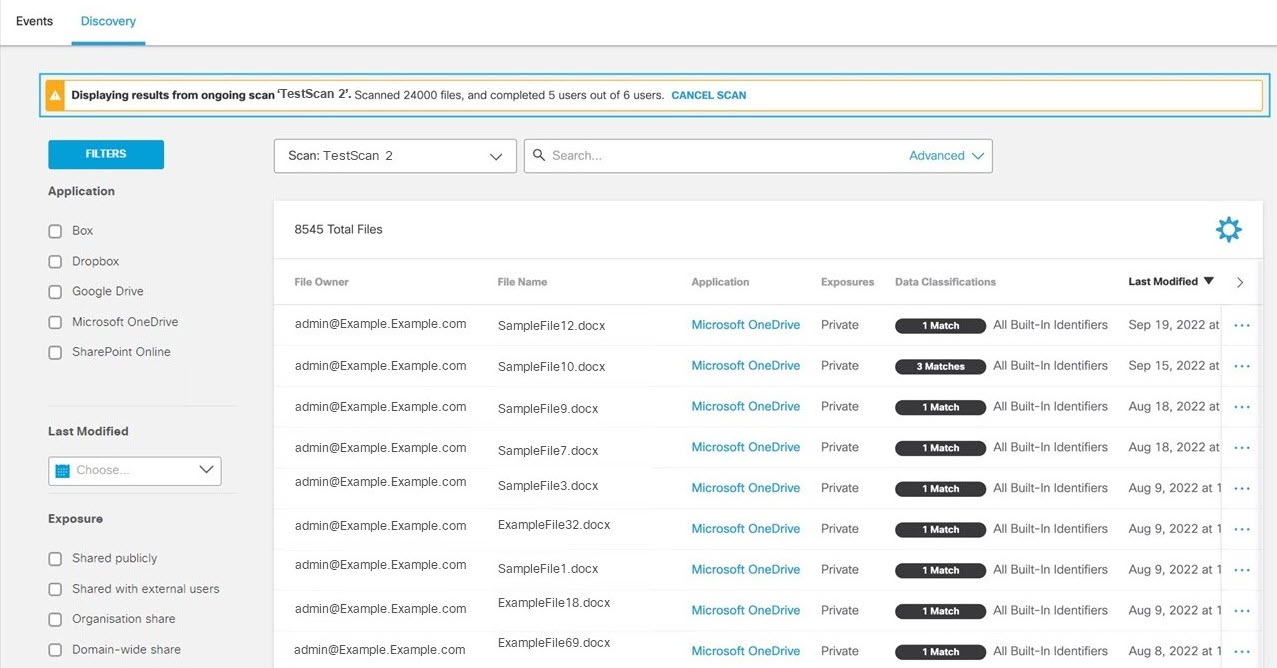
- You can choose to either discard or keep the scan results and history. Click Cancel Scan.

Add a SaaS API Rule to the Data Loss Prevention Policy < Discovery Scan > Edit a Data Loss Prevention Rule
Updated over 1 year ago