Chromebook-Specific DNS Policy
Add a Chromebook-specific DNS policy to Umbrella and protect all the Chromebook devices connected to your network. After you add the Chromebook-specific DNS policy, place this policy at the top of your policies list so that it is evaluated first. This ensures that this Chromebook-specific DNS policy is applied to your Chromebooks before any other DNS policy is evaluated. For more information about adding a DNS policy, see Add a DNS Policy.
Note: To maintain end-user privacy when Chromebooks are connected at remote locations, you can also disable content logging and include only security-related events in your reporting.
Prerequisites
- Cisco Security for Chromebook client must be deployed. For more information, see Deploy the Chromebook Client.
- Cisco Umbrella root certificate must be installed. To avoid certificate errors when accessing an Umbrella block page, you must install this certificate on all Chromebook devices. See Install the Cisco Umbrella Root Certificate.
- You must have full admin access to the Umbrella dashboard. See Manage User Roles.
Procedure
- Navigate to Policies > Management > All Policies and click the Add icon.
The DNS Policy wizard is displayed.

- Select the policy components that you want to be enabled, and determine how Umbrella will block threats.
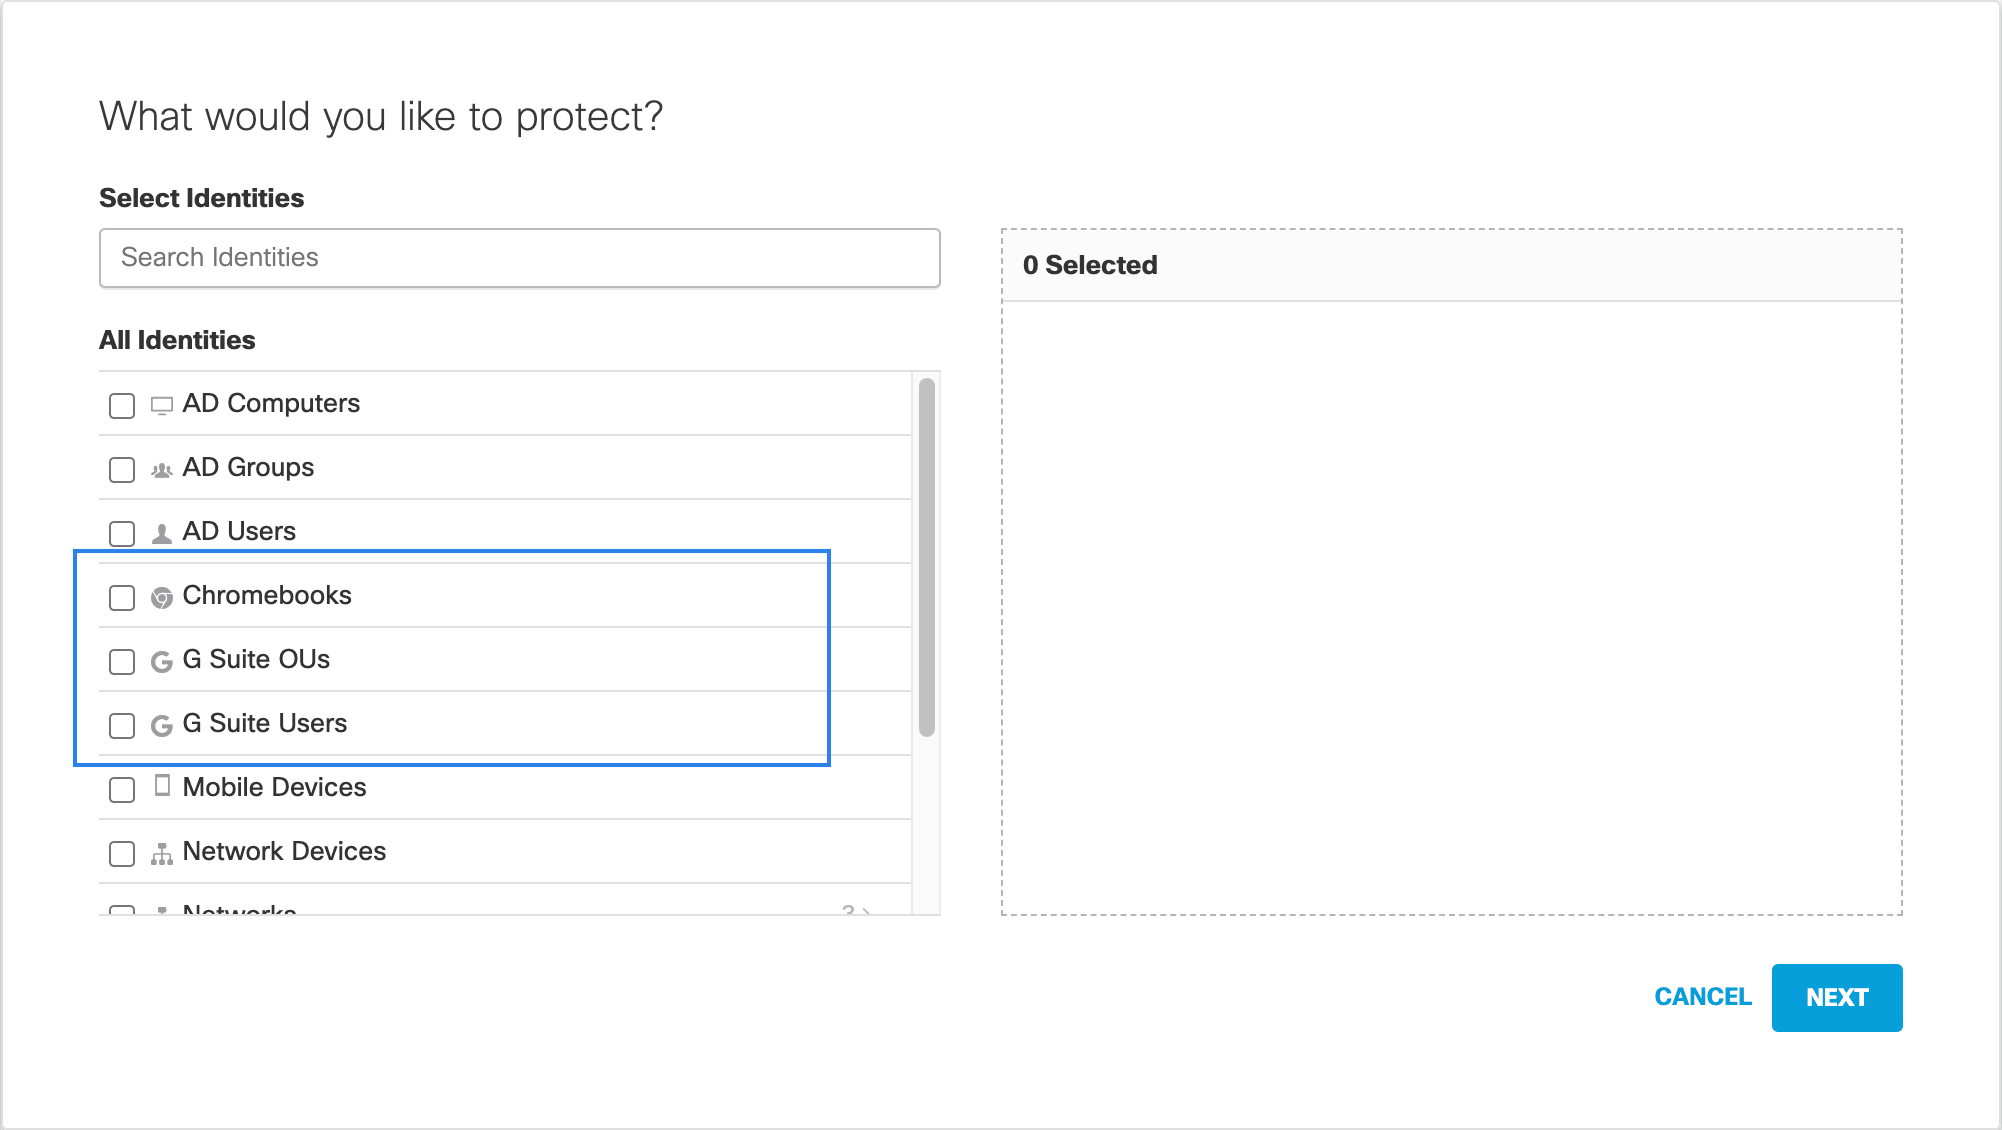
The options you choose here determine which steps of the Policy wizard become available for configuration and how this policy will protect your identities. - Select one of the following options, as necessary:
- G Suite OUs — To apply a DNS policy to one or more G Suite organizational units.
- G Suite Users — To apply a DNS policy to one or more Chromebook users.
- Chromebooks — To apply a DNS policy to one or more Chromebook devices.

- Click Next and continue with the DNS policy wizard until you are prompted to save it. For more information, see Add a DNS Policy.
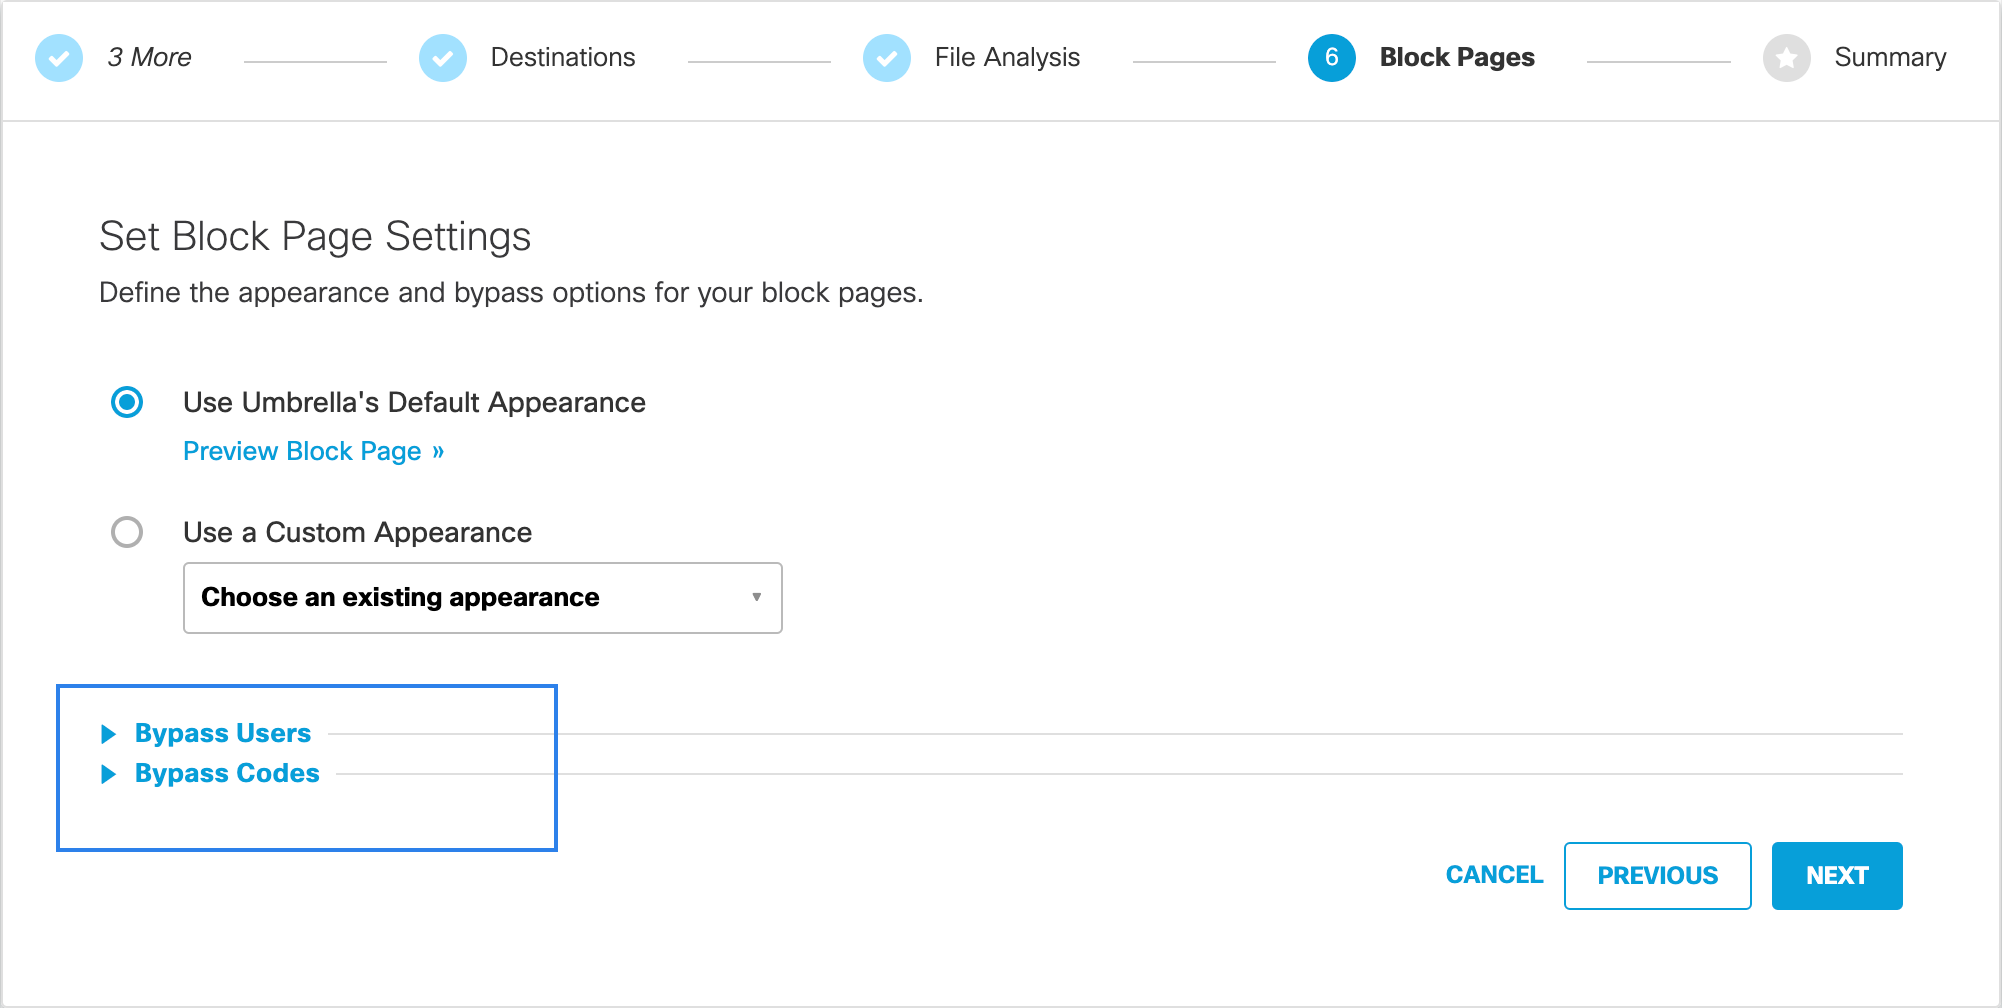
Note: The custom block page, and the Bypass Users, and Bypass Codes options are not supported by Chromebook client. Currently, users are allowed to visit a site that should be blocked, and the result is in some cases erroneously visible in Reports as blocked.

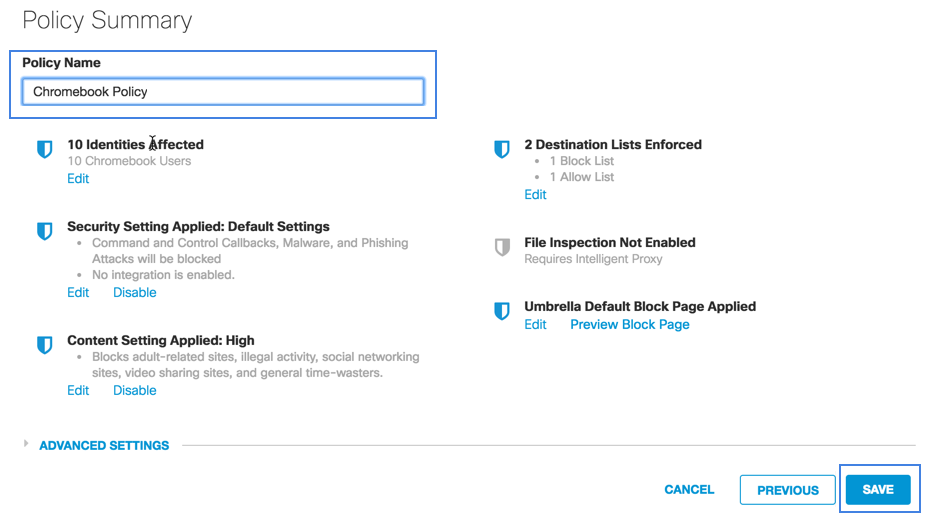
- Give your DNS policy a meaningful name and click Save.
Your policy is automatically applied to Chromebooks.

Protection Status > Chromebook-specific DNS Policy > Chromebook-specific Web Policy
Updated almost 2 years ago
