Enable SSO with OneLogin
To enable single sign-on (SSO) with SAML for Umbrella, you must first add the OneLogin application for Umbrella to your organization, then follow the step-by-step wizard to complete the process in Umbrella.
Prerequisites
- Full admin access to the Umbrella dashboard. See Manage User Roles.
- Follow the procedure to download the OneLogin XML metadata file.
Procedure
Download the OneLogin XML metadata file:
a. To configure OneLogin for Umbrella to gather the metadata, log in to your OneLogin dashboard, and then go to the Admin tab. You must log in to OneLogin dashboard with the same account that you are using in the Umbrella dashboard.
b. Click Add Application and then Find Apps.
c. Search for "OpenDNS" and add the application named OpenDNS with SAML 2.0 next to it. Save the app and keep the defaults for General Settings.
d. Assign all user that will need to log in to your Umbrella dashboard. Save the configuration.
e. Select SAML Metadata and save the onelogin-metadata-idp.xml file.
f. Ensure all users that will need to log in to your Umbrella dashboard now or in the future have the OpenDNS application assigned to their OneLogin account. All users must have access to the OpenDNS application or they will not be able to log in. Save the configuration.
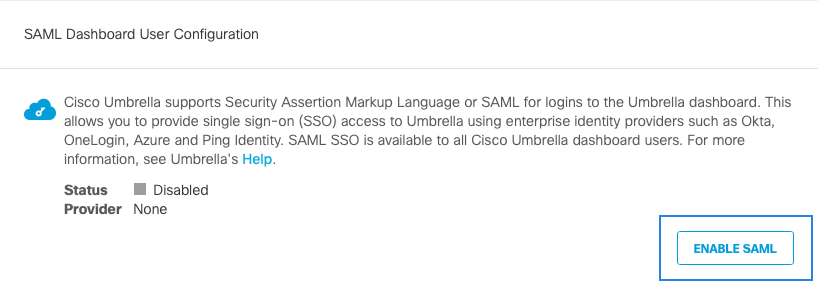
- Navigate to Admin > Authentication.

- In the SAML Dashboard User Configuration section, click Enable SAML.

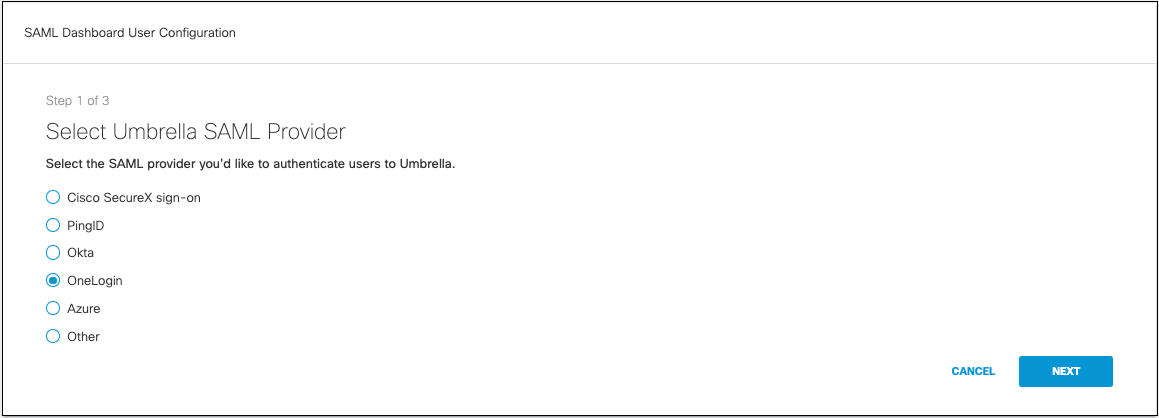
- Click the OneLogin radio button, and then click Next.

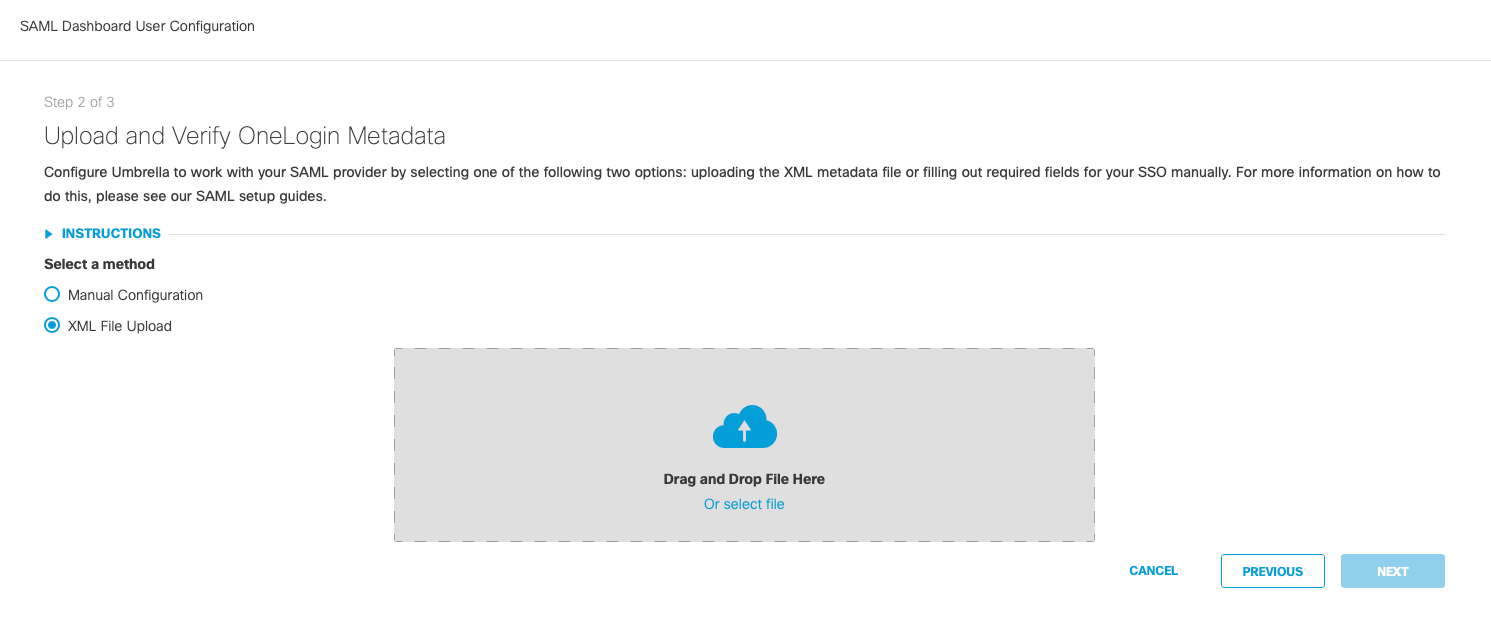
- Click the XML File Upload radio button. Upload the metadata file that you downloaded from OneLogin, and then click Next.

- Click Test Configuration and enter the Umbrella email for your current logged in user that was added to the OneLogin application. After the test completes, a success message should be displayed.
All authentication to the Umbrella dashboard for all users in your organization is now handled by OneLogin.
Enable SSO with Okta < Enable SSO with OneLogin > Enable SSO with Azure
Updated almost 2 years ago
