Configure Tunnels with Silver Peak
The content provided here lists information about how to service chain traffic from Silver Peak EdgeConnect to Cisco Umbrella to enable threat protection and containment. Complete this task by setting up interoperable site-to-site IPsec tunnels between EdgeConnect and Umbrella. The following information includes instructions to configure a single internet breakout from the EdgeConnect to Umbrella.

Note: This document is based on Silver Peak EdgeConnect version 8.3.0.16. While we expect that IPsec tunnels will continue to work with devices as each vendor updates their device, we cannot guarantee connectivity for versions not explicitly listed as tested.
Table of Contents
- Configure Tunnels in Umbrella
- Configure Silver Peak EdgeConnect
- Test the Configuration
- Other Resources
Configure Tunnels in Umbrella
Before the Silver Peak can be configured, you must create the correct tunnel FQDN and shared secret in Cisco Umbrella.
- Navigate to Deployments > Core Identities > Network Tunnels and click Add.
- Give the Tunnel a name and choose Other from the Device Type drop-down menu.
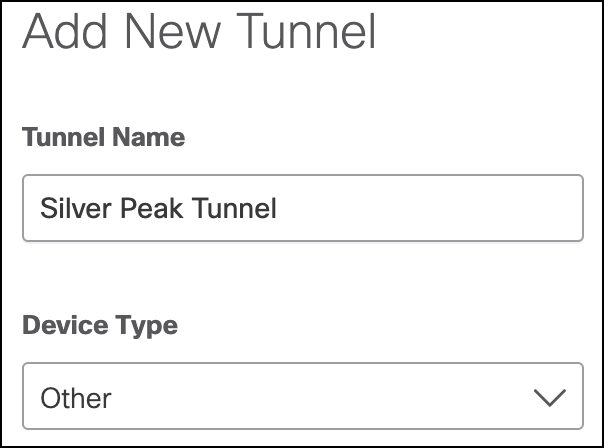
- On the Set Tunnel ID and Passphrase page:
a. Select FQDN
b. Set the Tunnel ID.
c. Set the Passphrase.
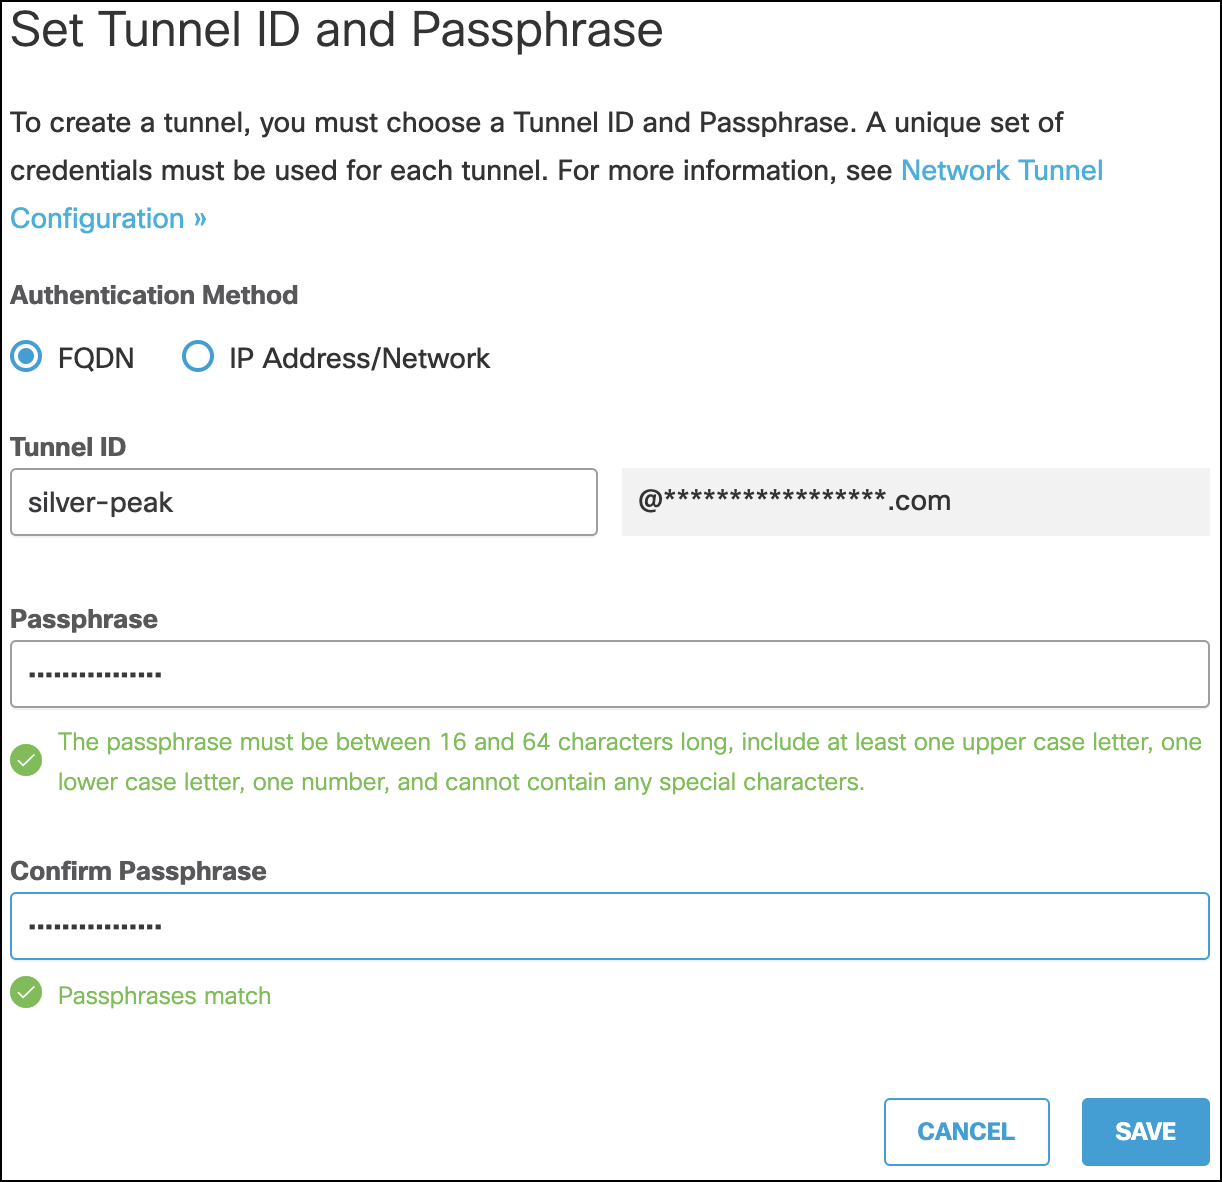
- Copy the Tunnel ID and Passphrase once it has been confirmed and save it for the next section.
Configure ADFS for SAML
When configuring ADFS for SAML, the Umbrella SSL inspection can create issues with authentication. This is why it must be disabled for the traffic to the ADFS URL. The following topology describes the traffic flow:
- Topology: SAML user -> SP Edge -> Umbrella with SSL inspection enabled -> AD FS server
To solve an authentication issue, add the ADFS URL to the exclusion list in the Umbrella SSL inspection configuration.
Configure Silver Peak EdgeConnect
There a few ways to integrate Silver Peak EdgeConnect with Umbrella. The underlying transport to Umbrella remains the same, an IPsec tunnel, but the traffic steering can be done through:
- Business Intent Overlays (BIO)
- Route Mapping
BIO is the preferred method of traffic steering. When the Silver Peak EdgeConnect device has internet access, it will establish an IPsec tunnel and carry interesting traffic to Umbrella for threat protection and containment.
Business Intent Overlay
Configure the IPsec Tunnel
Configure an IPsec Tunnel from the Silver Peak EdgeConnect to the Umbrella headend.
- In Silver Peak EdgeConnect, navigate to Configuration > System & Networking > Tunnels.
- In the Passthrough tab select Add Tunnels, then select the General tab and add the following:
| General | Value |
|---|---|
| Alias | Enter the name of the tunnel. |
| Mode | Select IPsec. |
| Admin | Select up. |
| Local IP | Enter the EdgeConnect internet WAN interface IP Address. |
| Remote IP | Enter the SIG headend IP address. |
| NAT | Keep the default option, none. |
| Peer/Service | Enter the name of the service |
| Auto Max BW Enabled | Select the check box. |
| Max BW Kbps | This field will auto populate based on your WAN bandwidth capacity |
- Select the IKE tab and add the following:
| IKE | Value |
|---|---|
| IKE Version | Select IKEv2 |
| Pre-Shared Key | Enter the pre-shared key you created in SIG dashboard. |
| Authentication Algorithm | Select SHA-256 |
| Encryption Algorithm | Select AES-256 |
| Diffie-Hellman Group | 14 |
| Lifetime | Keep the default value |
| Dead Peer Detection Delay Time | 10 |
| Dead Peer Detection Retry Count | 3 |
| Local IKE Identifier | Enter the User FQDN created in SIG dashboard |
| Remote IKE Identifier | Enter the User FQDN created in SIG dashboard |
| Phase 1 Mode | It is set to Aggressive by default and cannot be changed. |
- Select the IPsec tab and add the following:
| IPSec | Value |
|---|---|
| Authentication Algorithm | SHA-1 |
| Encryption Algorithm | AES-256 |
| IPsec Anti-reply Window | Disable (This field has changed from tick box to a dropdown menu in latest release of the Orchestrator) |
| Lifetime | Leave the values as it is. |
| Perfect Forward Secrecy Group | Select disable from the dropdown menu. |
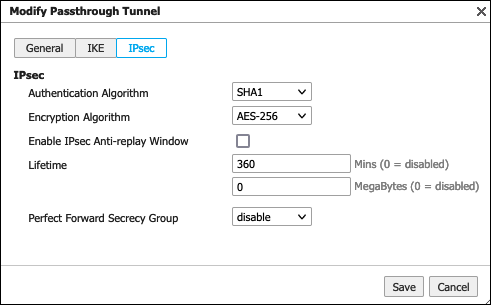
- Click Save.
- From Configuration > System & Networking > Tunnels > Passthrough, review the status of the tunnel.

- In Umbrella, navigate to Deployments > Core Identities > Network Tunnels and review the status of the tunnel from the Umbrella side.

Create the Business Intent Overlay (BIO)
- Navigate to Configuration > Business Intent Overlay.
- Select the Business Intent Overlay you want to add to the Umbrella breakout service.
- Click the edit icon next to Match “Overlay ACL”, then click Add Rule.
- Click Match Criteria, select Others, and then click Save.
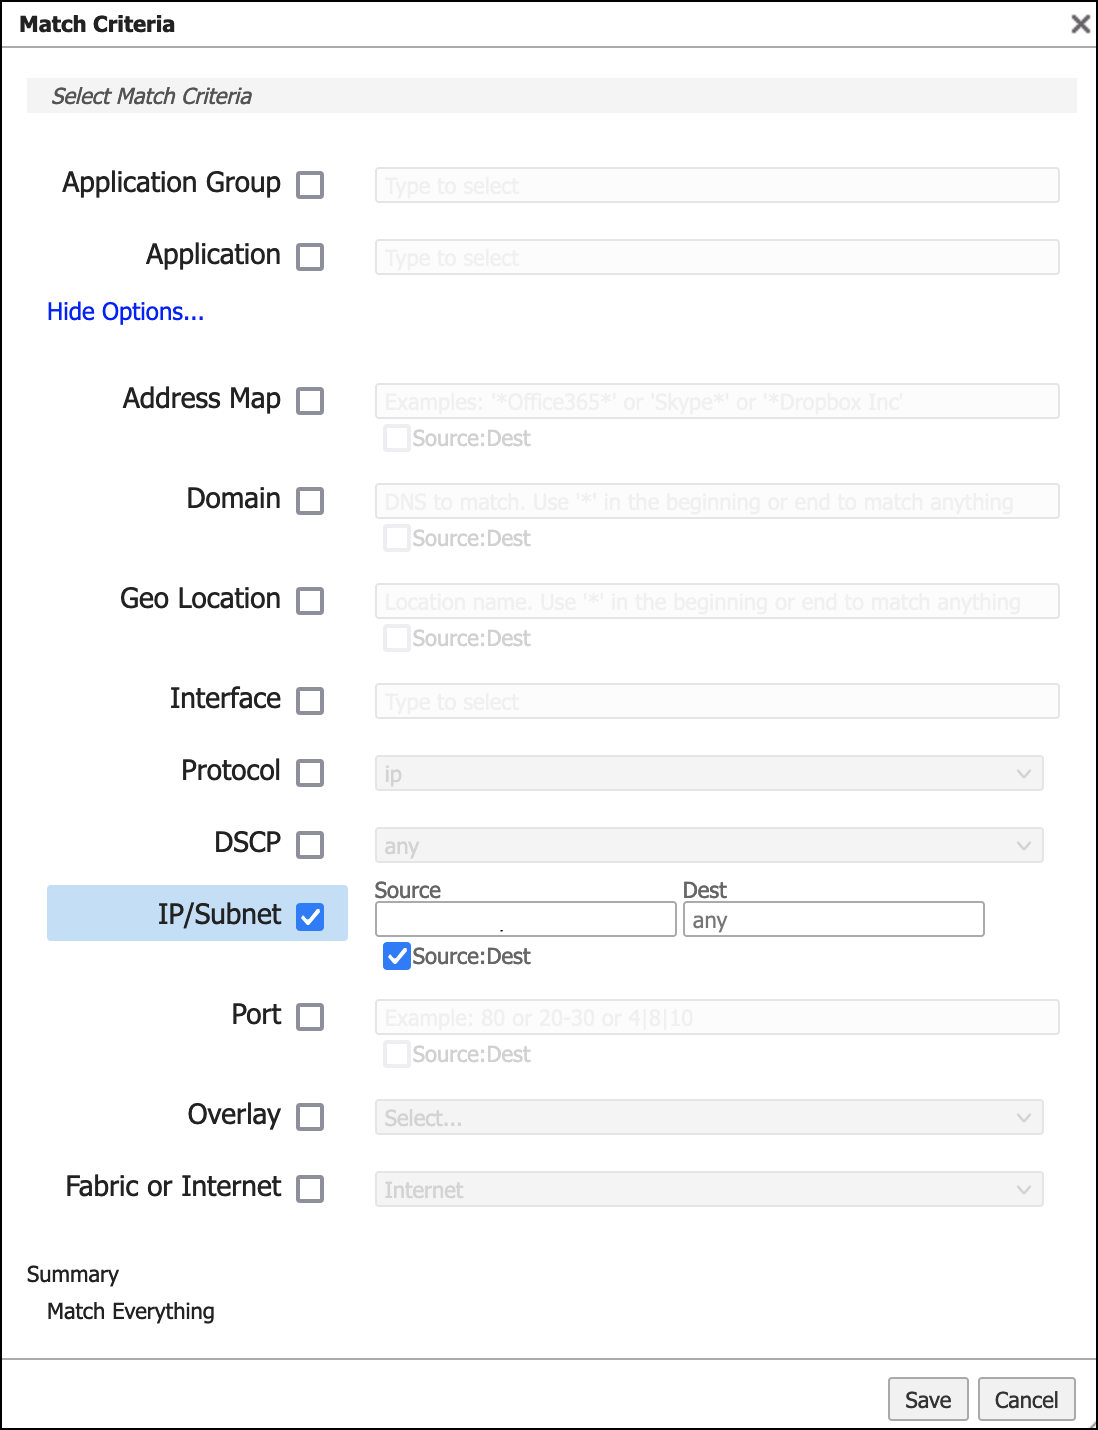
- Ensure traffic permission is set to Permit and click Apply.
- Select the Breakout Traffic to Internet & Cloud Services tab and click the edit icon.
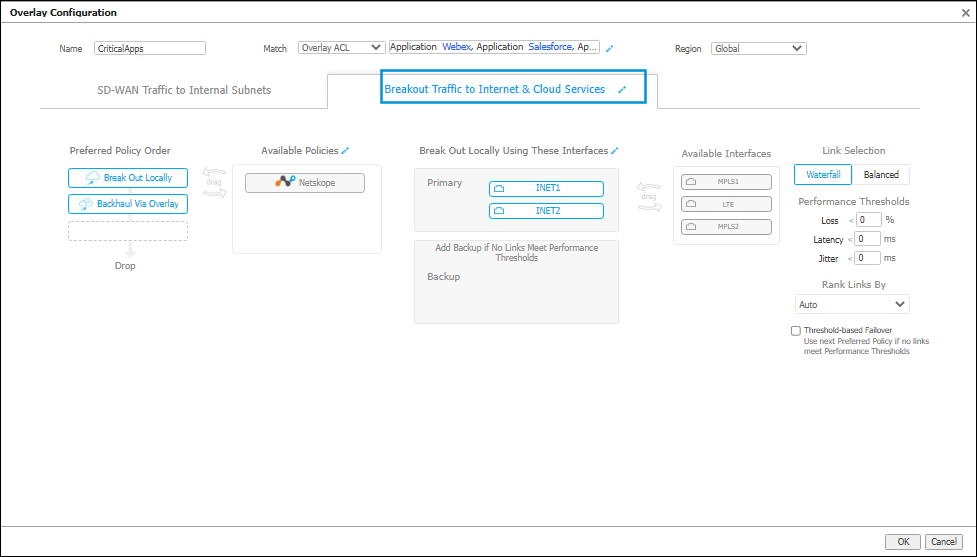
- Click the edit icon next to Available Policies, choose Umbrella and then click Add.
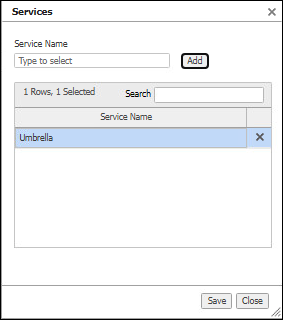
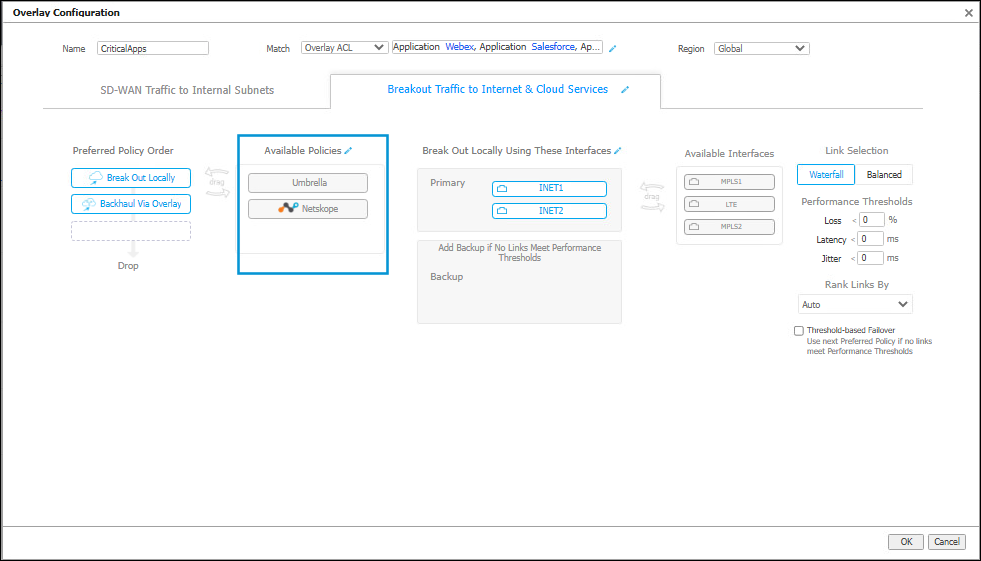
- Click Save
The Umbrella policy appears in the list of Available Policies.
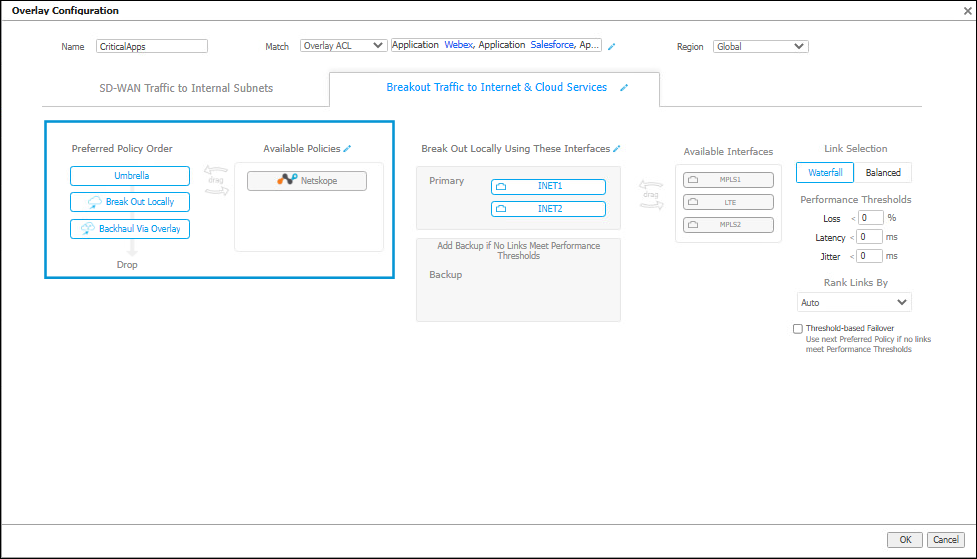
- Optionally, select and drag the Umbrella Policy from Available Policies to the top of the Preferred Policy Order and then click OK.
Route Mapping
Configure the IPsec Tunnel
Configure an IPsec Tunnel from the Silver Peak EdgeConnect to the Umbrella headend.
- In Silver Peak EdgeConnect, navigate to Configuration > System & Networking > Tunnels.
- In the Passthrough tab select Add Tunnels, select the General tab, and add the following:
| General | Value |
|---|---|
| Alias | Enter the name of the tunnel. |
| Mode | Select IPsec. |
| Admin | Select up. |
| Local IP | Enter the EdgeConnect internet WAN interface IP Address. |
| Remote IP | Enter the SIG headend IP address. |
| NAT | Keep the default option, none. |
| Peer/Service | Leave this field blank. |
| Auto Max BW Enabled | Select the check box. |
| Max BW Kbps | This field will auto populate based on your WAN bandwidth capacity |
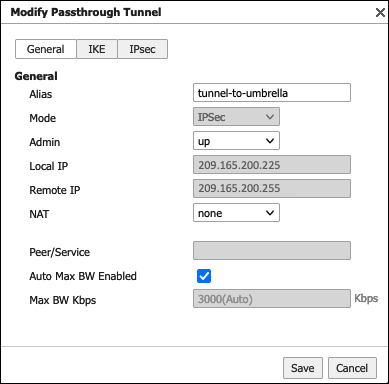
- In the IPsec tab, add the following:
| IPSec | Value |
|---|---|
| Authentication Algorithm | SHA-1 |
| Encryption Algorithm | AES-256 |
| Enable IPSec Anti-replay Window | Uncheck this option. |
| Lifetime | Leave the values as it is. |
| Perfect Forward Secrecy Group | Select disable from the dropdown menu. |
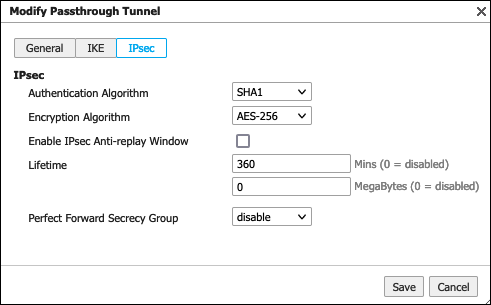
- Click Save.
- Navigate to Configuration > System & Networking > Tunnels > Passthrough and review the status of the tunnel.

- In Umbrella, navigate go to Deployments > Core Identities > Network Tunnels and review the status of the tunnel from the Umbrella side.

Create an Access List for Interesting Traffic
- From the EdgeConnect dashboard, navigate to Configuration > Policies > Access Lists and click Add.
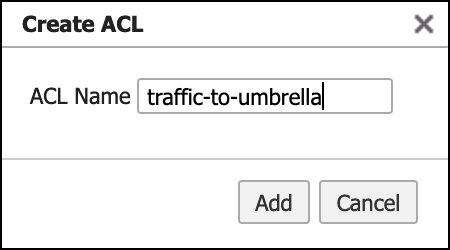
- Click Add Rule, then clickMatch Criteria and select Other.
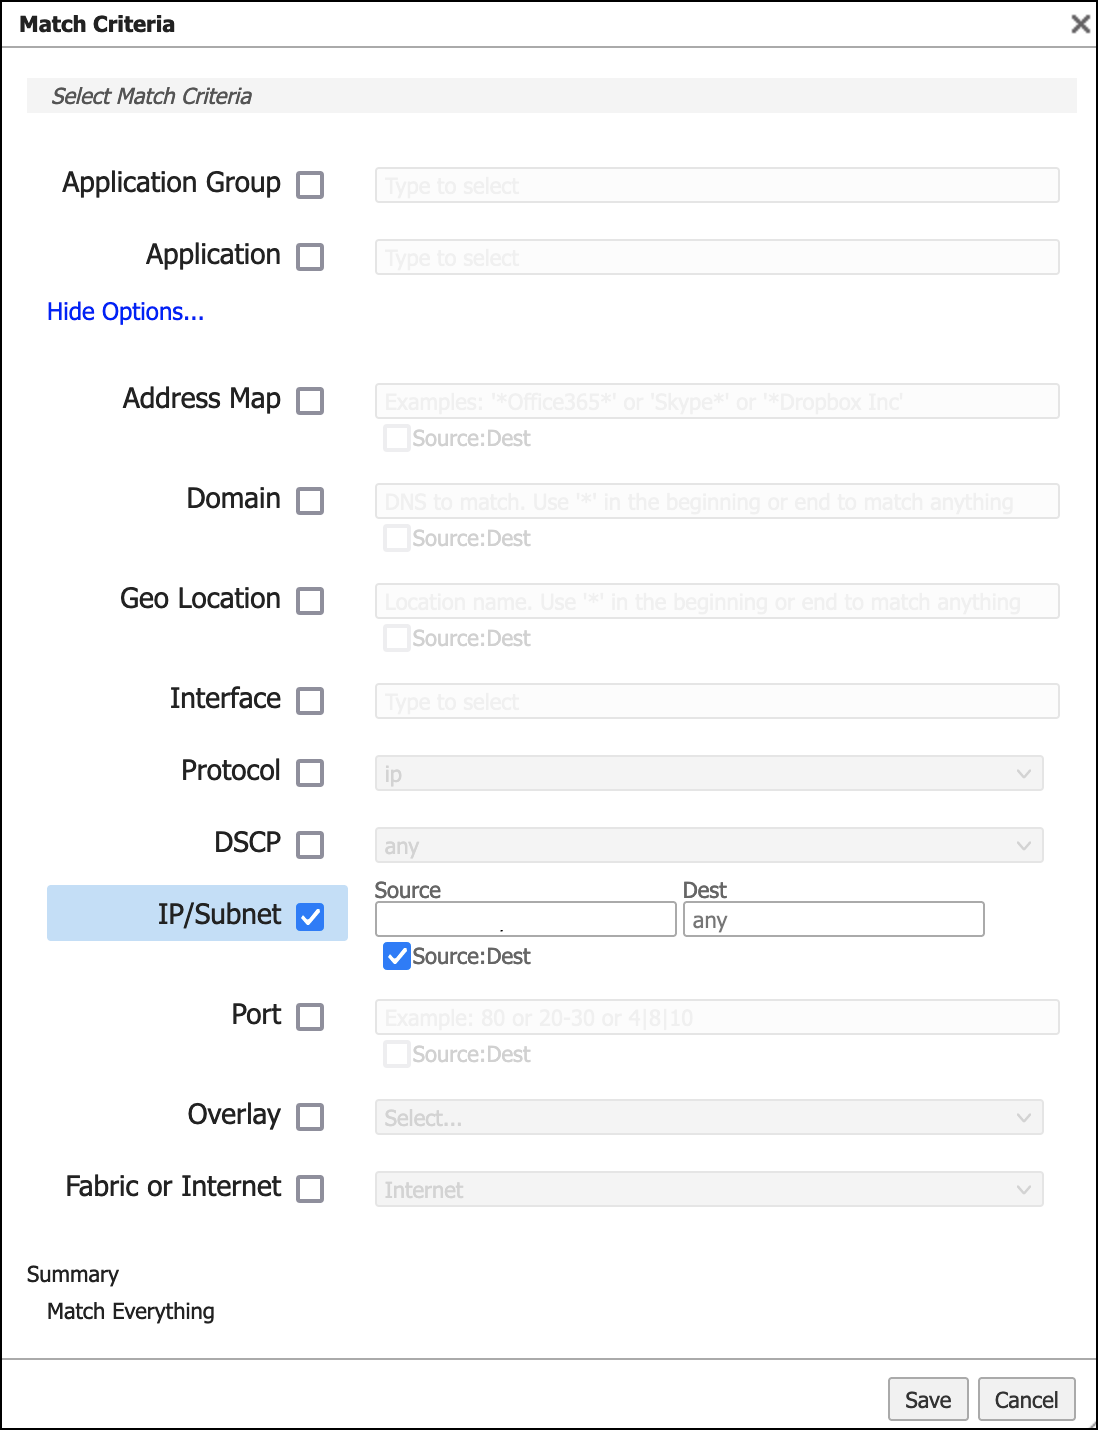
- Click Save.
- Confirm that traffic permission is set to Permit and click Apply.
Create a Route Map
- In EdgeConnect, navigate to Configuration > Policies > Route Policies and click Add Map.
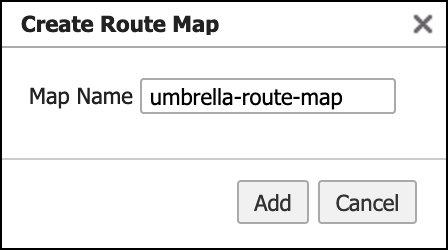
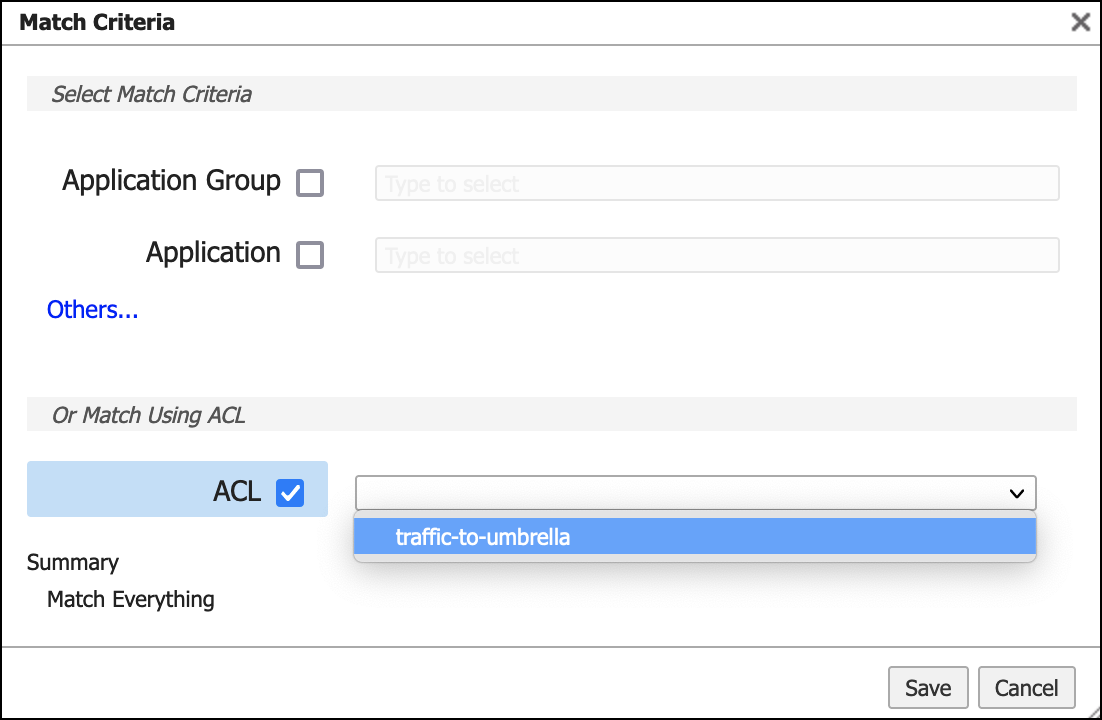
- Click Add Rule and then click Match Criteria.
- Select ACL and from the drop-down menu choose the ACL created in the previous step.
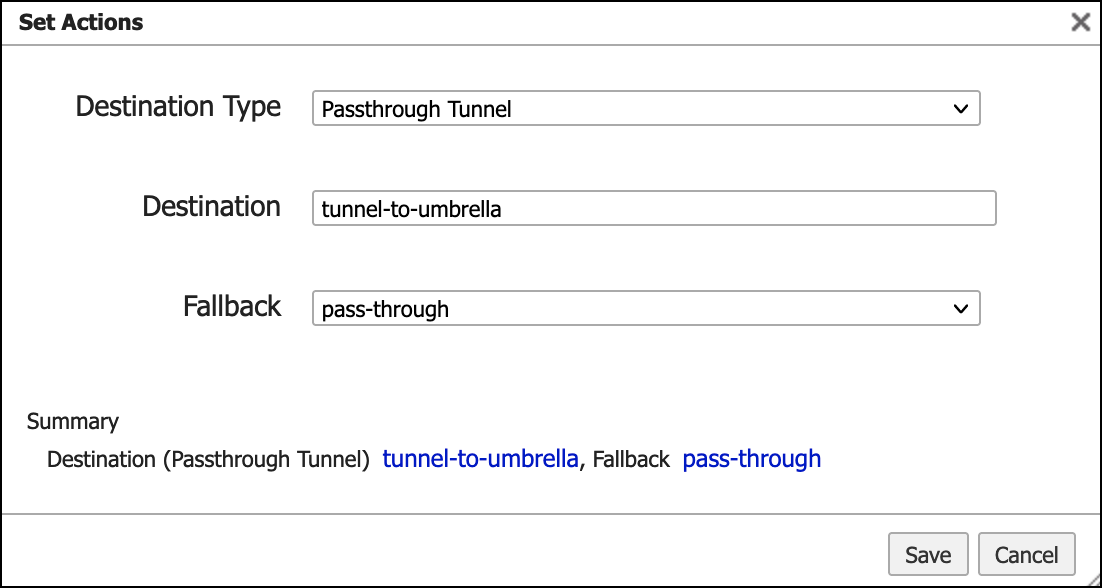
- Click Set Actions and add the following:
- Destination Type—Passthrough Tunnel
- Destination—tunnel-to-umbrella
- Fallback—pass-through
- Click Save and then click Apply.
Test the Configuration
Once the Silver Peak EdgeConnect deployment is complete, log in into any machine connected to the LAN subnet and run the ‘curl http://ifconfig.co’ command or through a browser access ‘http://ifconfig.co’. If everything is working as expected and an IP address in the 146.112.x.x range is returned.
Other Resources
Umbrella Cloud Firewall
Configure Tunnels with Sophos XG IPsec < Configure Tunnels with Silver Peak > Configure Tunnels with Fortinet IPsec
Updated over 1 year ago
