Configure DNS Policies for Roaming Computers
Before proceeding, if you're unfamiliar with how to configure a DNS policy, see Manage DNS Policies.
Note: The information listed here discusses creating on-network versus off-network policies for roaming computers. If you require a single unified policy for Umbrella roaming clients, networks, and other identities for content filtering and security, and you do not require separate permissions for off-network and on-network identities, follow Umbrella's standard procedures for adding policies.
Depending on your organization's IT policies, you may wish to configure separate "off-network" and "on-network" content filtering policies. You may also disable "Content Logging," and only record security-related events in your reporting. In so doing, the end user's privacy is maintained while connected at remote locations.
The trick is to create a policy in Umbrella for network usage and have it take priority over a similar policy for roaming computers.
Table of Contents
Step 1: Create an On-network Policy
Step 2: Create an Off-network Policy
Step 3: Order your Policies Correctly
Step 1: Create an On-network Policy
Begin by creating the policy you would like to apply to all users—with or without the Umbrella roaming client installed—when they are on one of your local networks.
- Navigate to Policies > Management > DNS Policies and click Add.

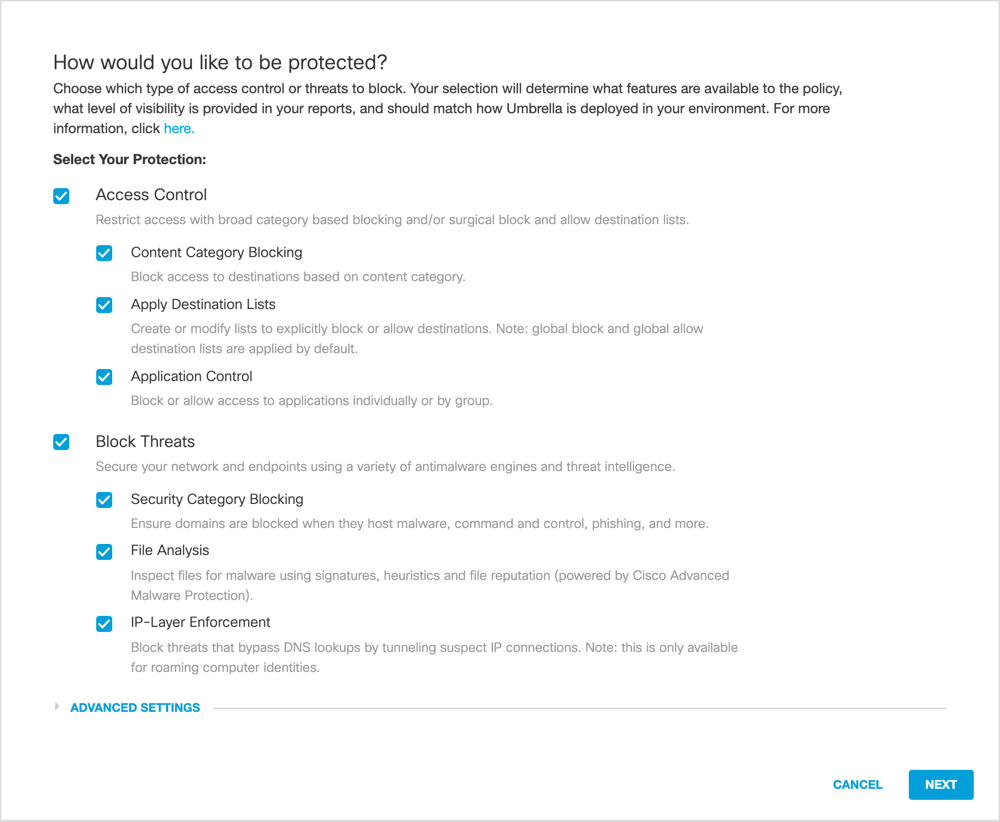
- On the first page of the Policy wizard, select the Policy wizard components you'd like enabled, configure Advanced Settings, and then click Next.
For more information, see Add a DNS Policy.

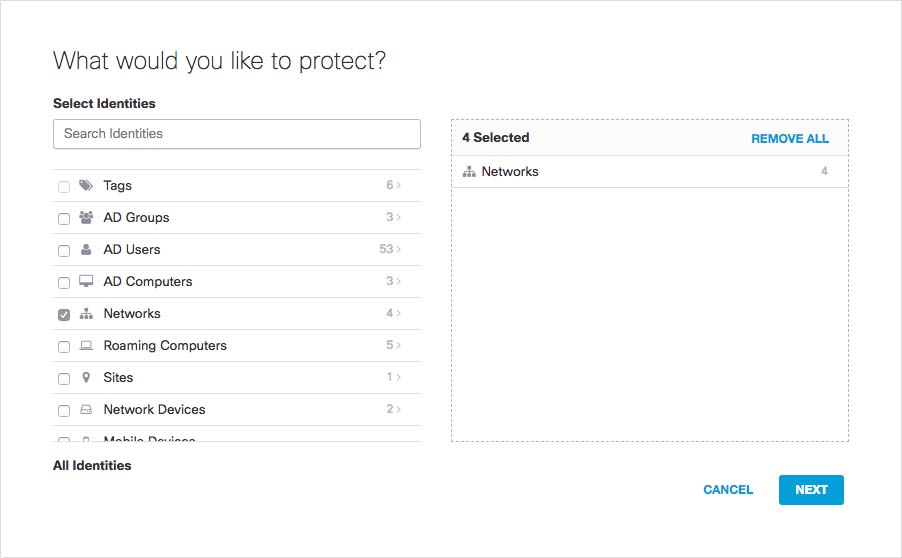
- Select Networks identities and then click Next.
Do not select Roaming Computers.

- Follow the steps of the wizard accepting default settings or make changes as required.
- In the final step of the policy wizard, give your policy a name, review your settings and click Save.
Step 2: Create an Off-network Policy
Next, create the DNS policy you would like to apply to all users on their roaming computers when connected outside of your networks.
- Navigate to Policies > Management > DNS Policies and click Add.
Note: Users will be subjected to the on-network policy if connecting back to one of the networks through a VPN, which will make the computer part of the network again.

- On the first page of the Policy wizard, select the Policy wizard components you'd like enabled, configure Advanced Settings, and then click Next.
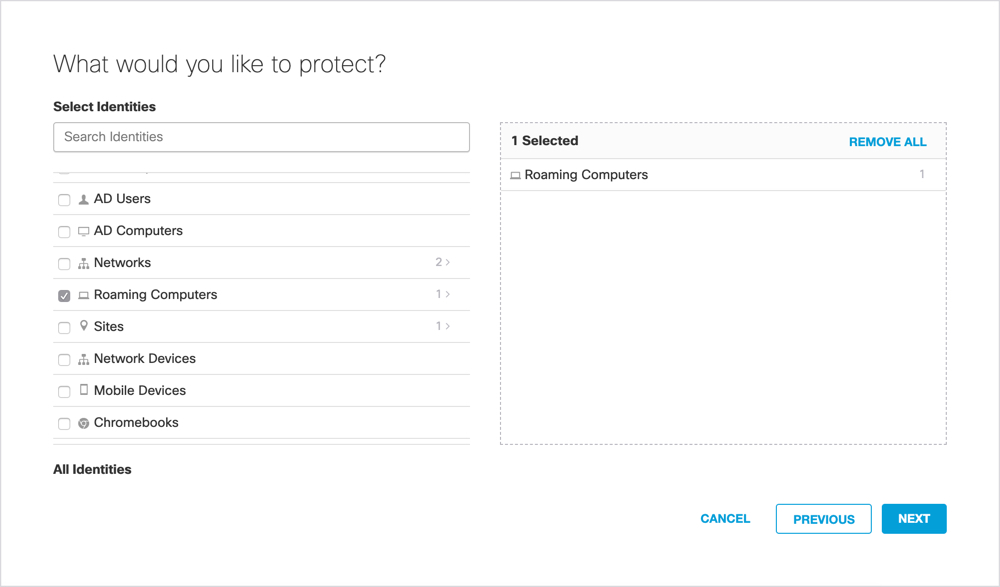
For more information, see Add a DNS Policy. - Select Roaming Computers identities and then click Next.
Do not select Networks.

- Follow the wizard's steps, accepting default settings or making changes as required.
- In the final step of the policy wizard, give your policy a name, review your settings, and click Save.
Step 3: Order your Policies Correctly
You must order your policies so that your DNS policy for networks is listed before your DNS policy for roaming computers. Drag and drop policies to reorder them.
When the user is on your network, the network policy takes precedence; however, when the roaming computer is off-network, their roaming policy takes effect instead.

Verify Roaming Client Operation < Configure DNS Policies for Roaming Computers > Identity Support for the Roaming Client
Updated almost 2 years ago
