Download and Install the Roaming Client
Before installing the roaming client, review Prerequisites.
During installation, you can configure the roaming client to hide the tray icon (Windows and Mac) and hide it from available applications—Add/Remove Programs on Windows. Use these options to decrease awareness of the Umbrella roaming client and prevent its removal from an end-user machine with Administrative rights. For more information, see Command-line and Customization for Installation.
Table of Contents
Single Machine or Manual Installation
The manual single installation method is best for small organizations that plan to install the roaming client on a limited number of computers, as it can be faster to simply install the software manually than to automate it. The single installation method is straight forward and similar to installing any other application. It is also very useful for testing a representative workstation in advance of a mass automated deployment.
- Navigate to Deployments > Core Identities > Roaming Computers and click Roaming Client.

- Click Download Windows Client or Download macOS Client.

Important
Downloaded installers are unique to your organization. Do not distribute them outside of your organization.
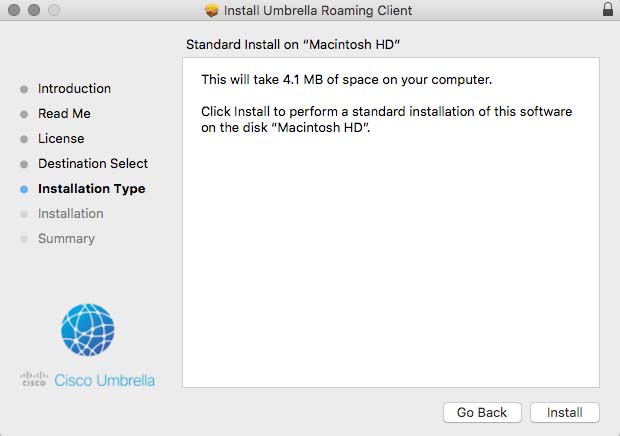
- Extract the installer and follow the wizard.

- Verify installation by checking the tray icon.
When up and running, you should see a blue sphere in your computer's desktop tray.
Distributed or Automated Installation
The distributed installation is best for mass deployment using deployments tools such as Group Policy Objects, Apple Remote Desktop, and other tools for automated software installations.
We have a detailed guide for deployments that utilize command line installations, which is what most software deployment tools will use.
We have specific guides for the most common software deployment tools:
Prerequisites < Download and Install the Roaming Client > Verify Roaming Client Operation
Updated almost 2 years ago
